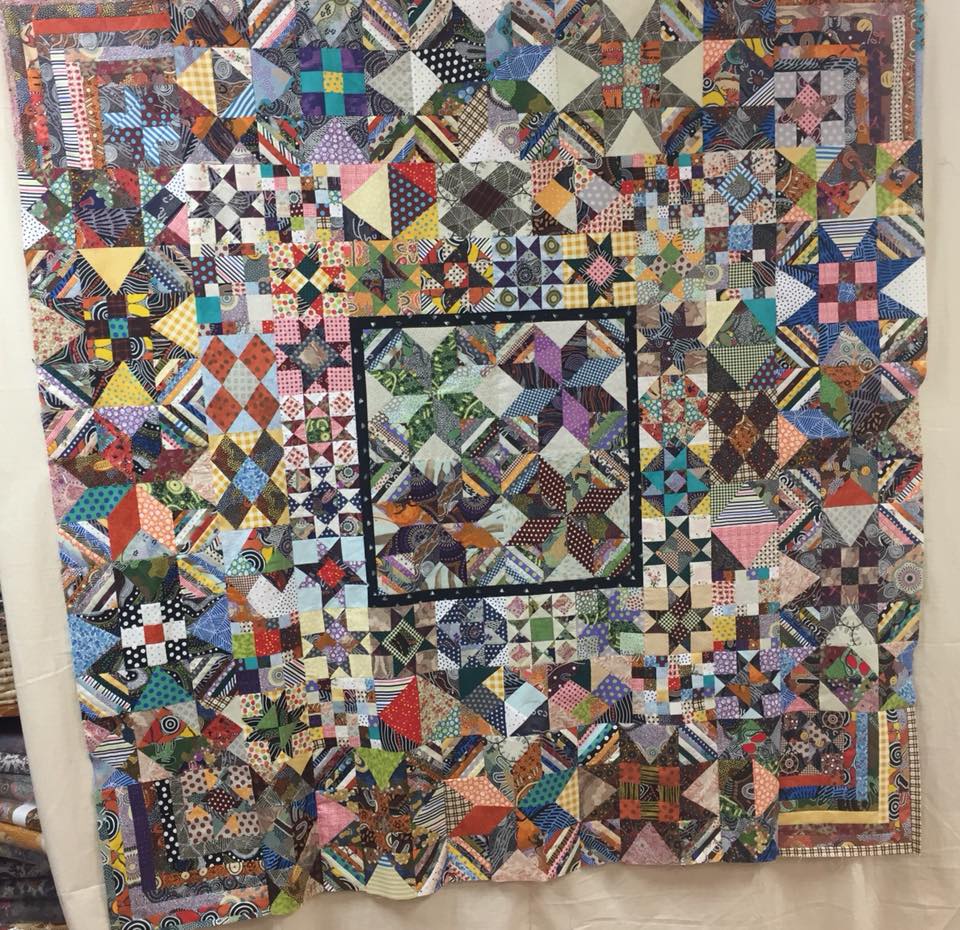
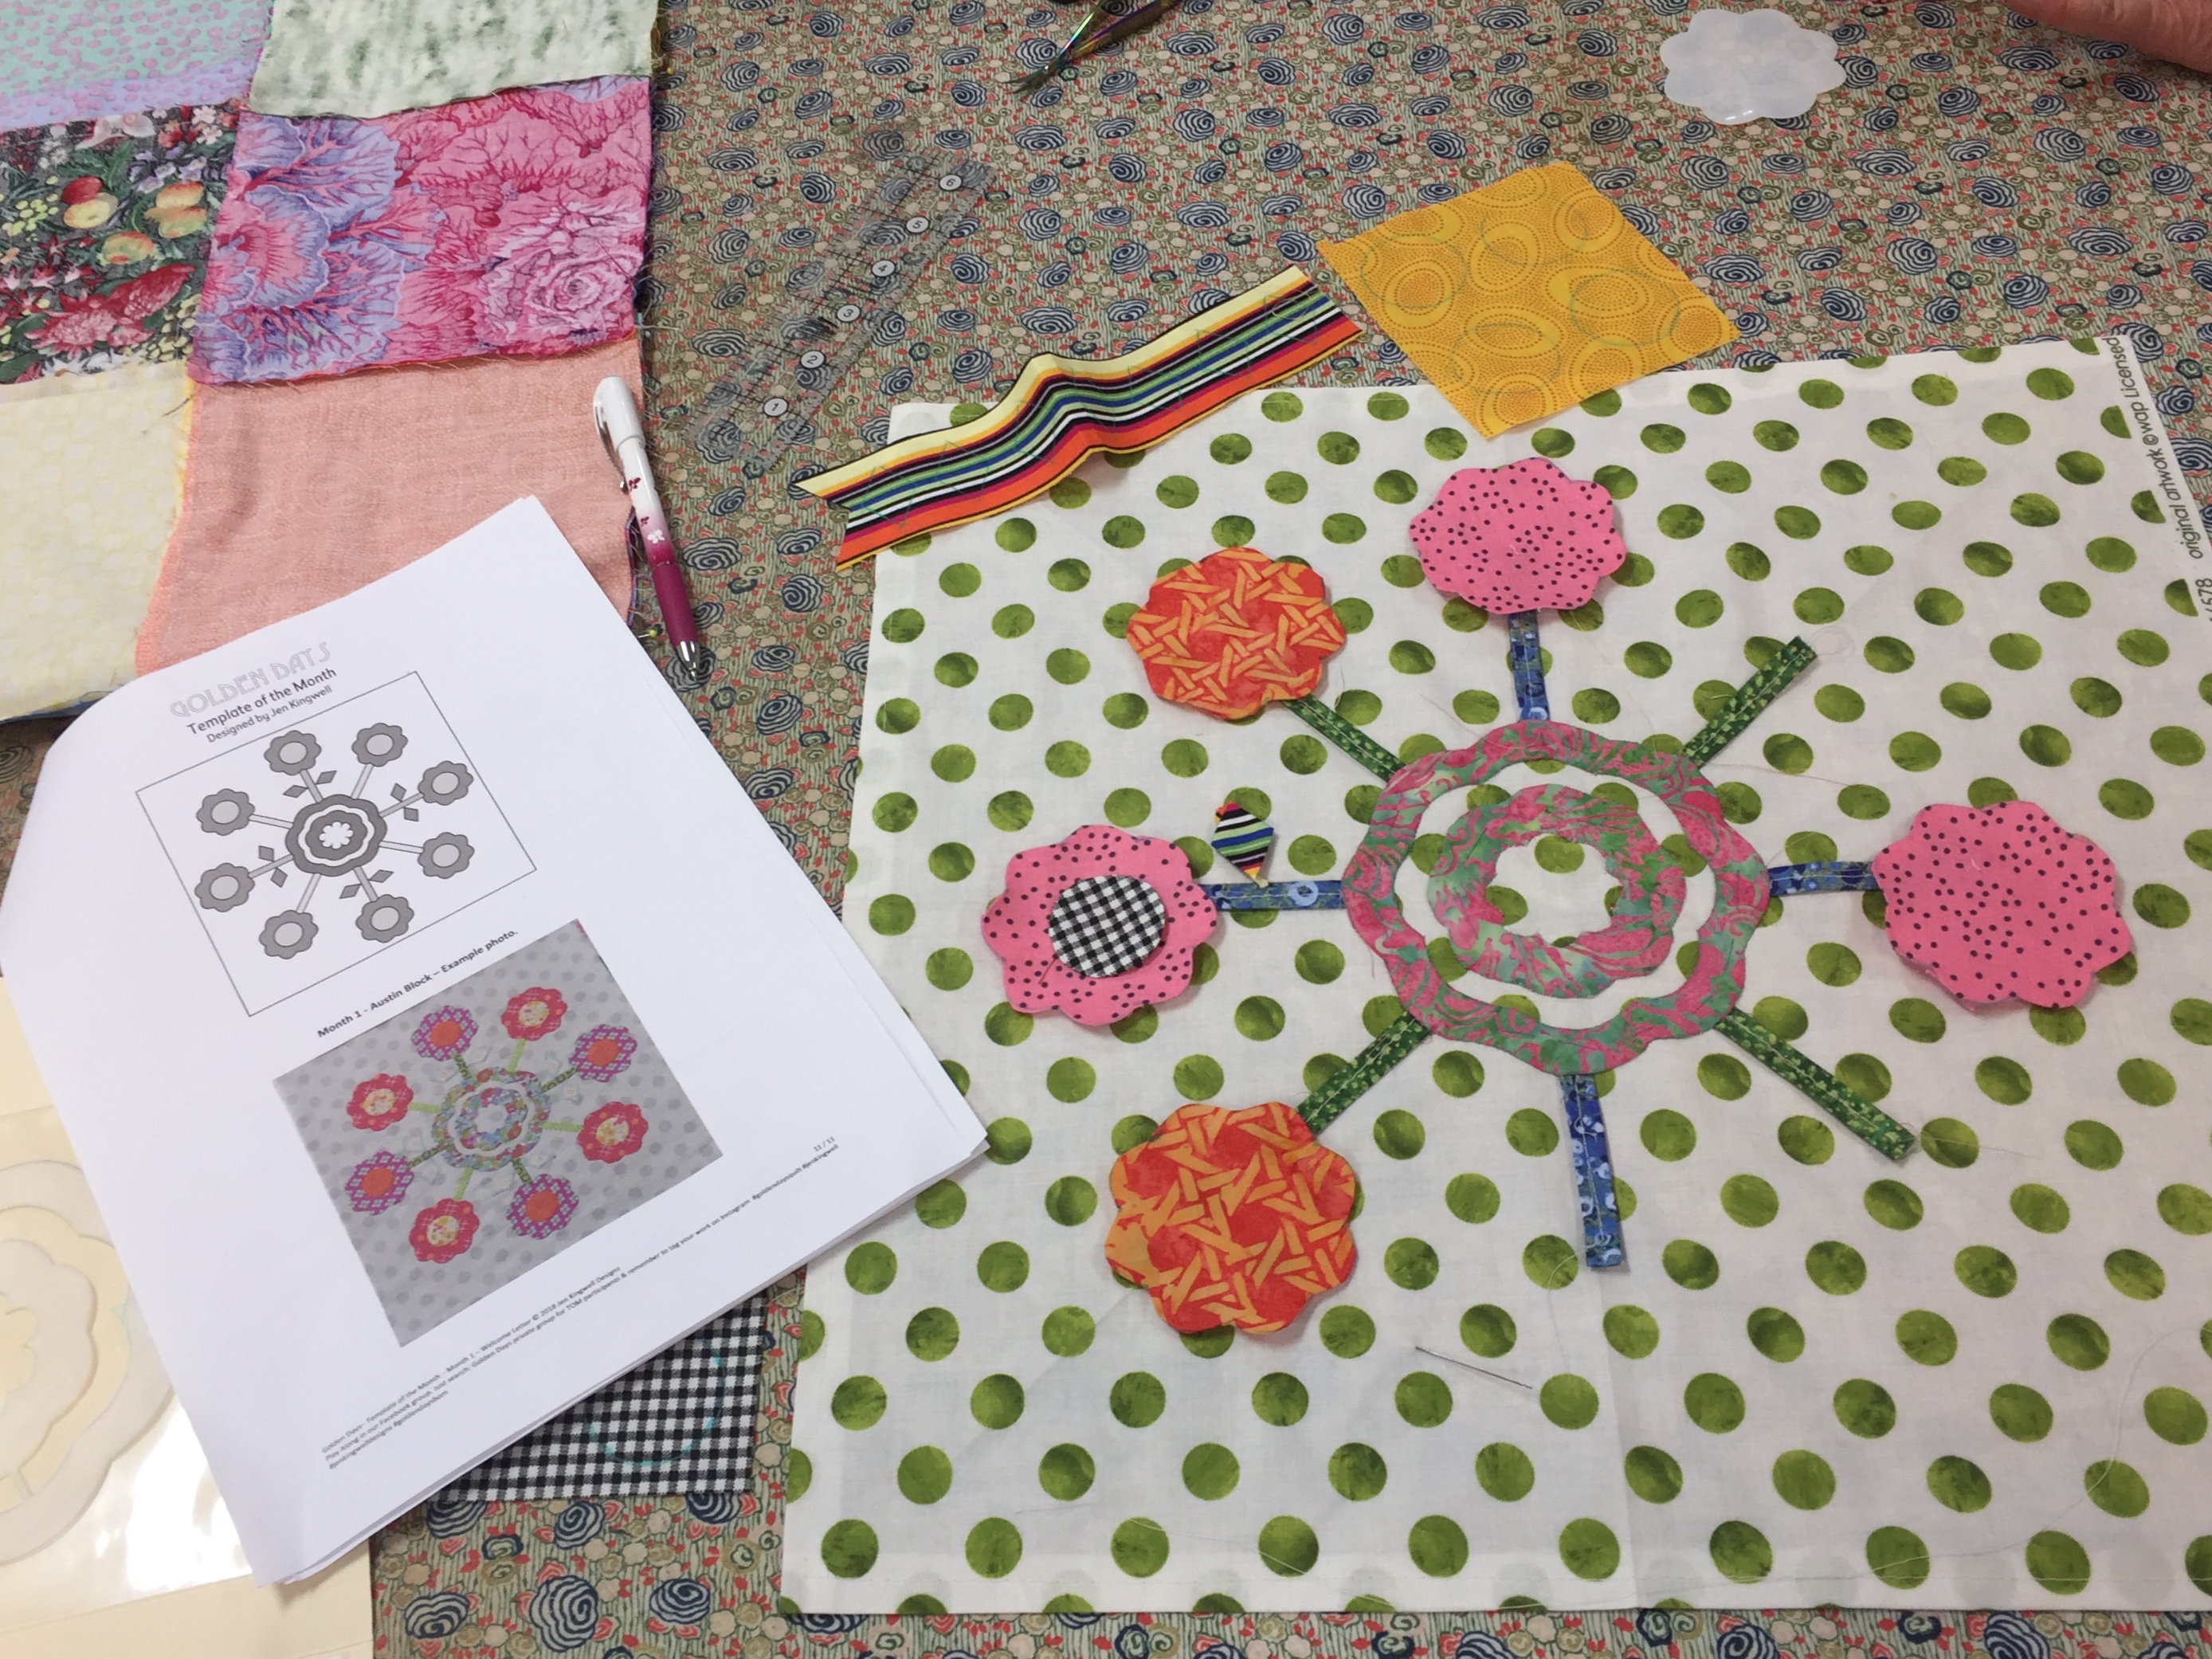
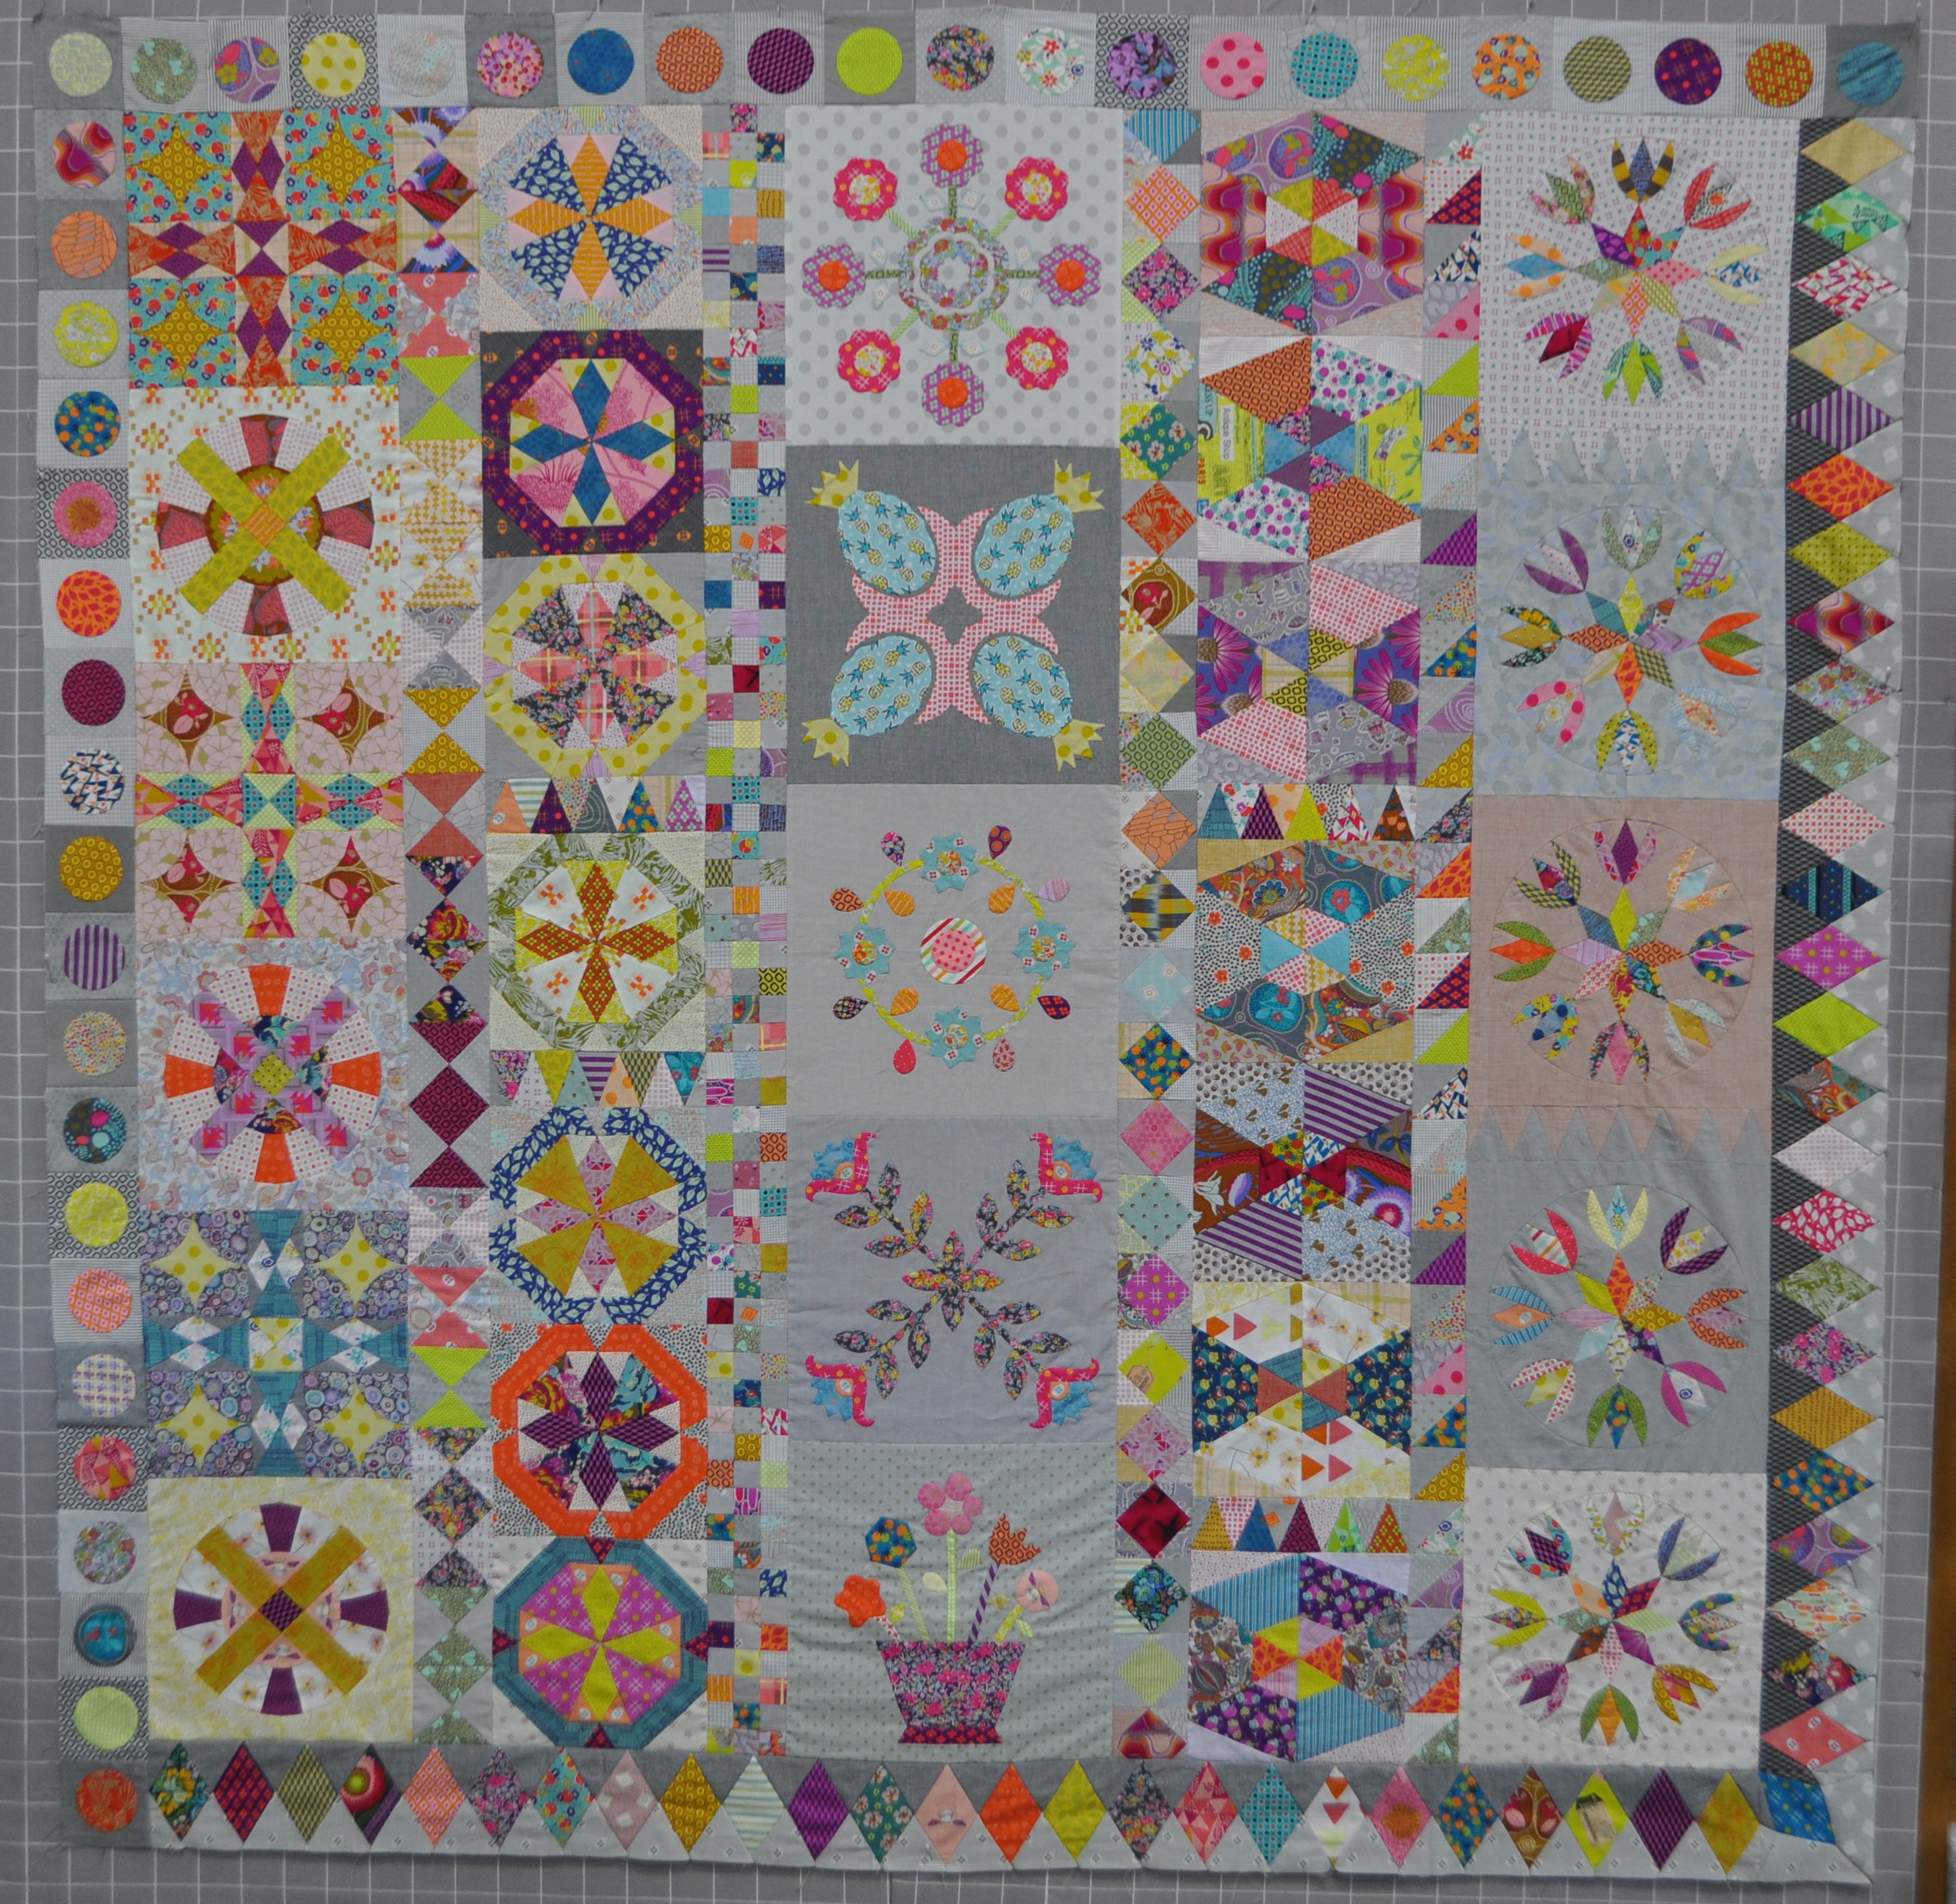
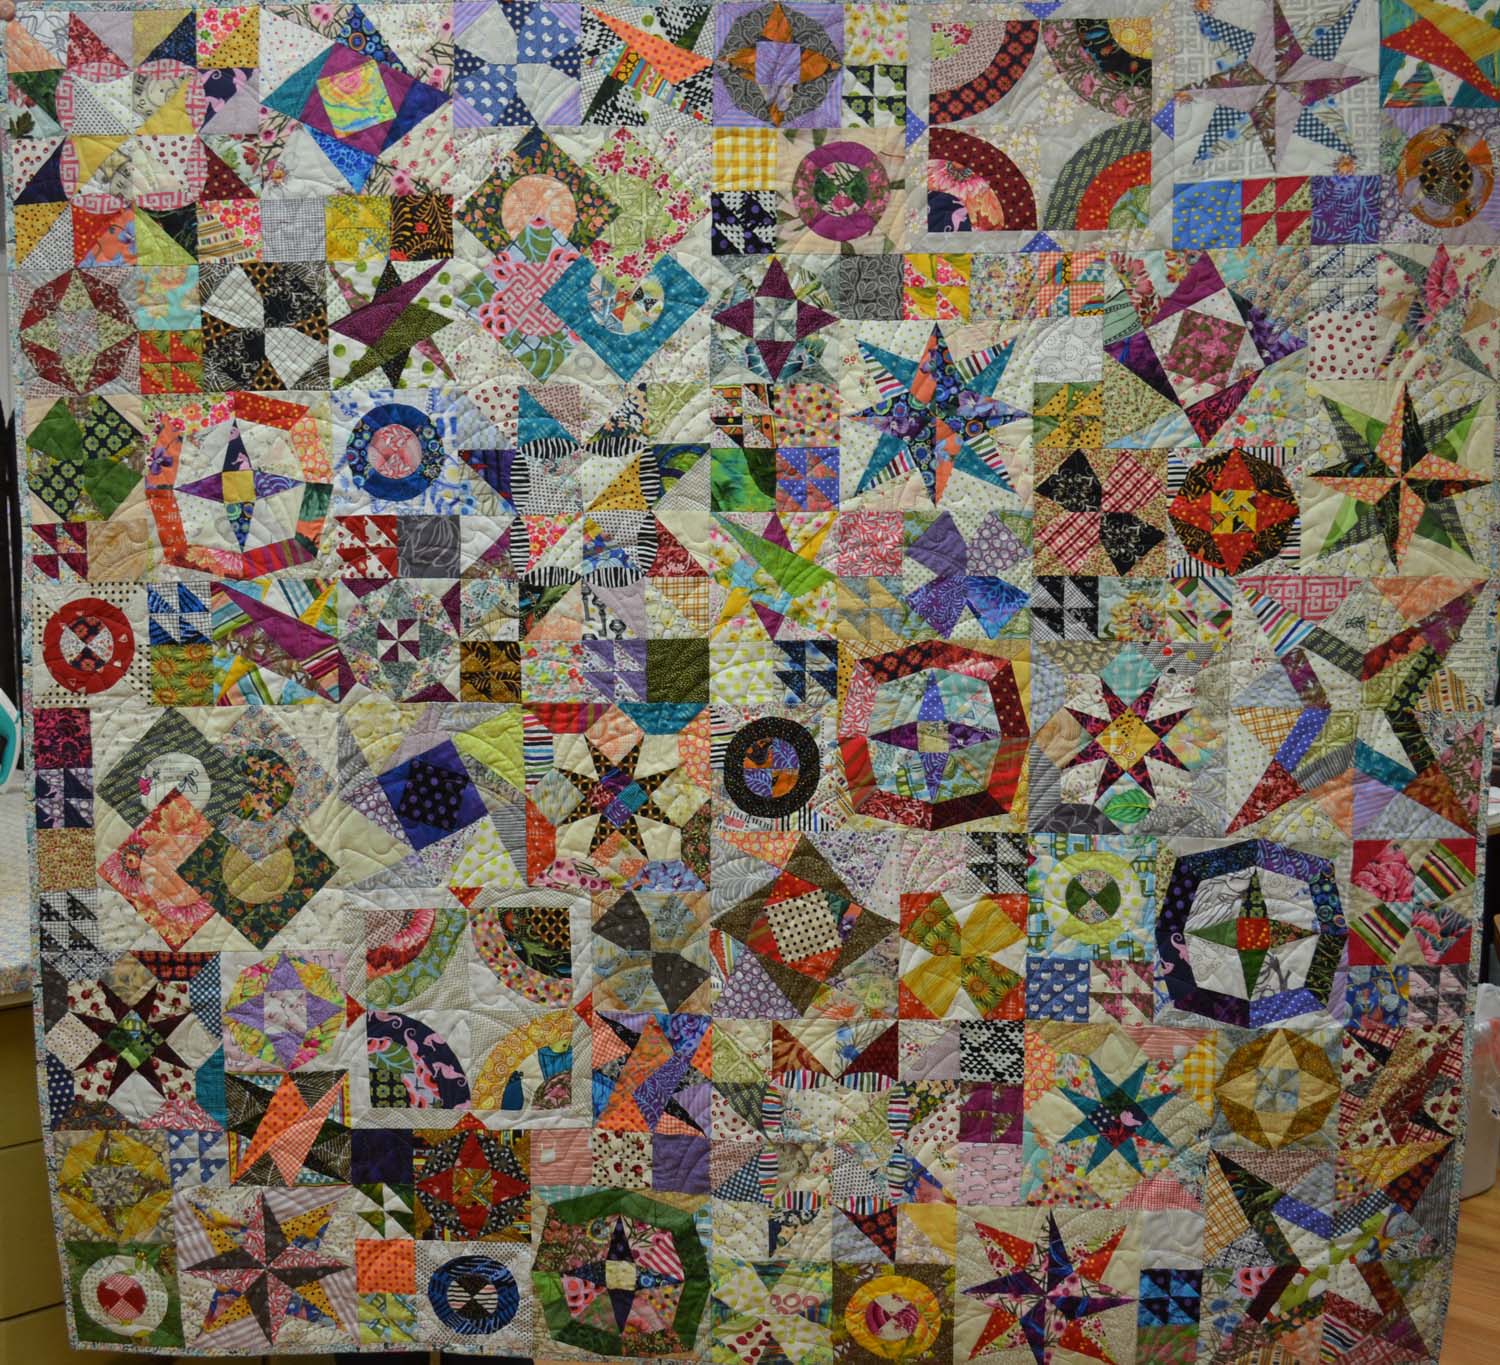
Golden Days Template of the Month
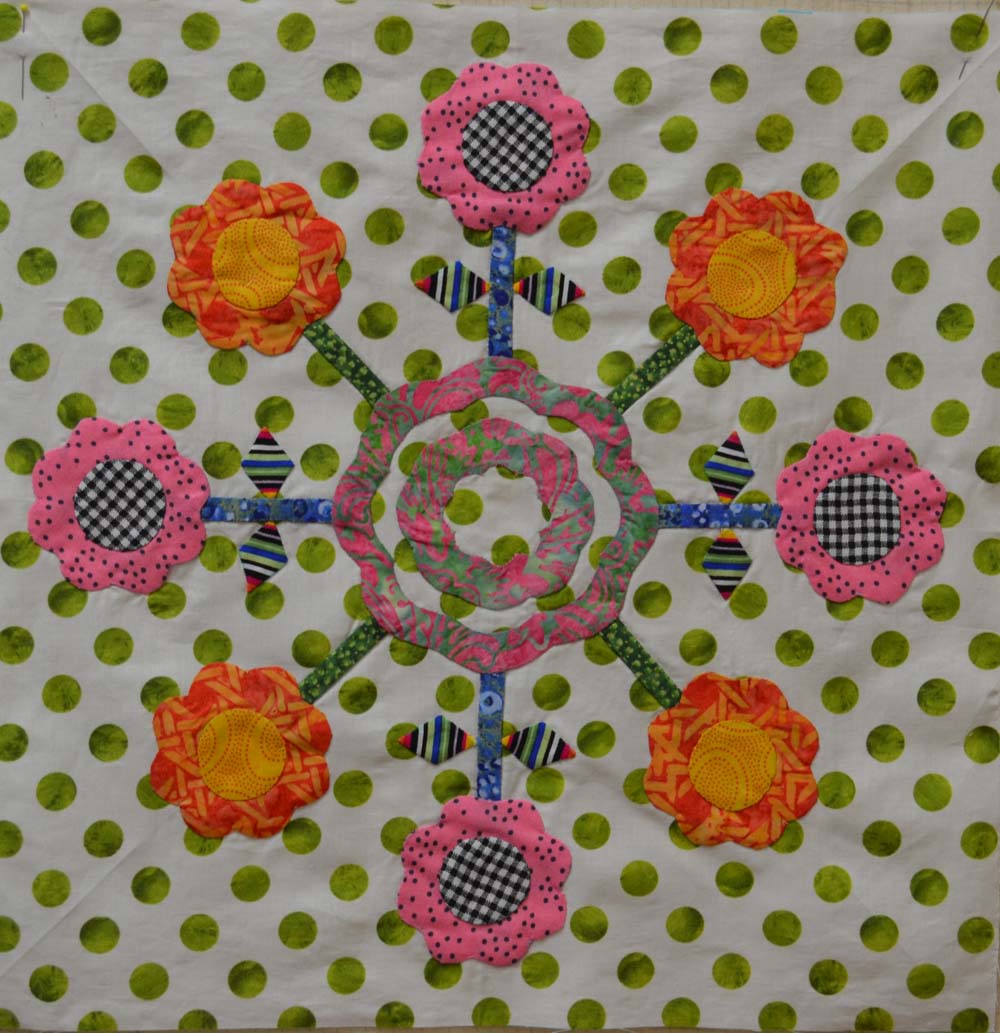
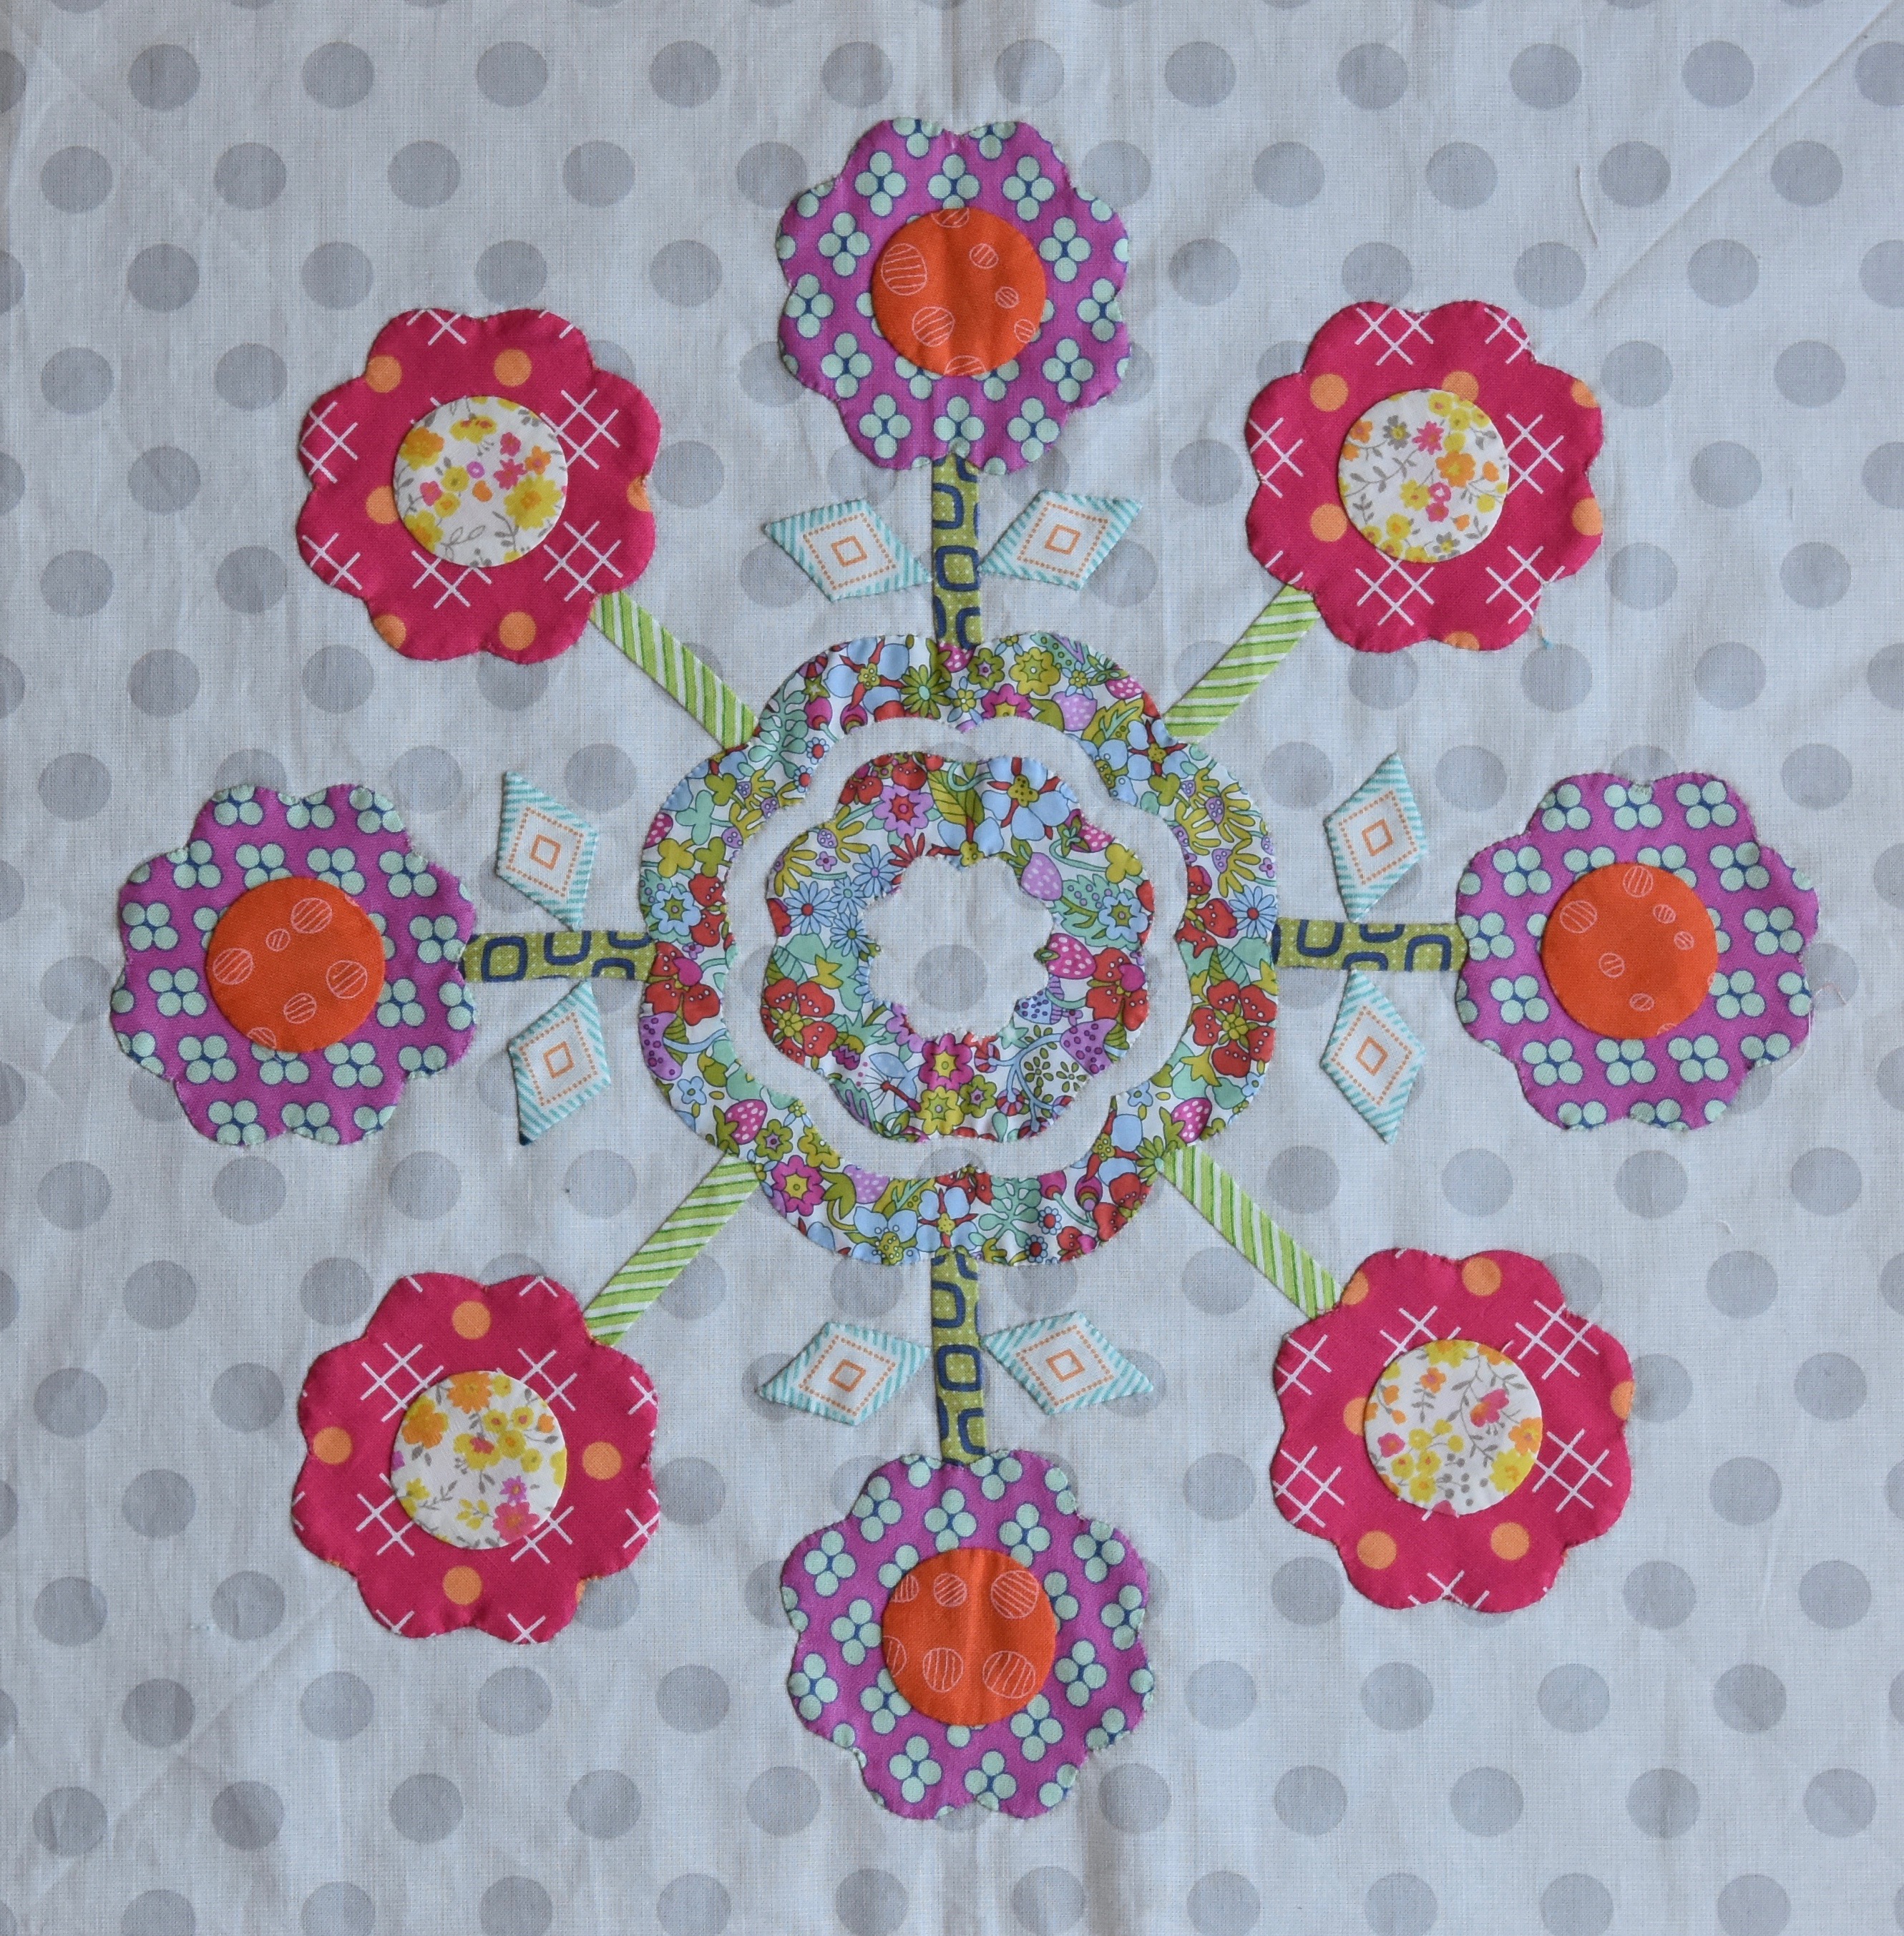
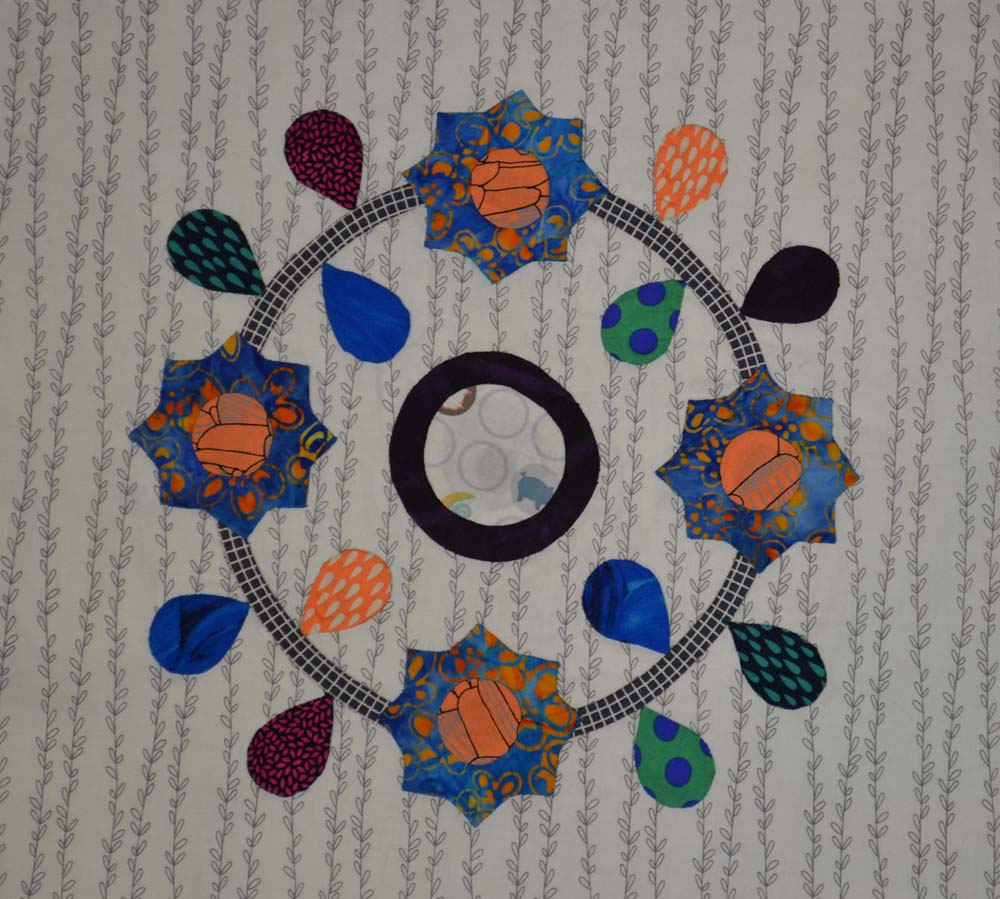
Month 2 – Linda’s Wreath – Finished size 15†x 15‖Make 1
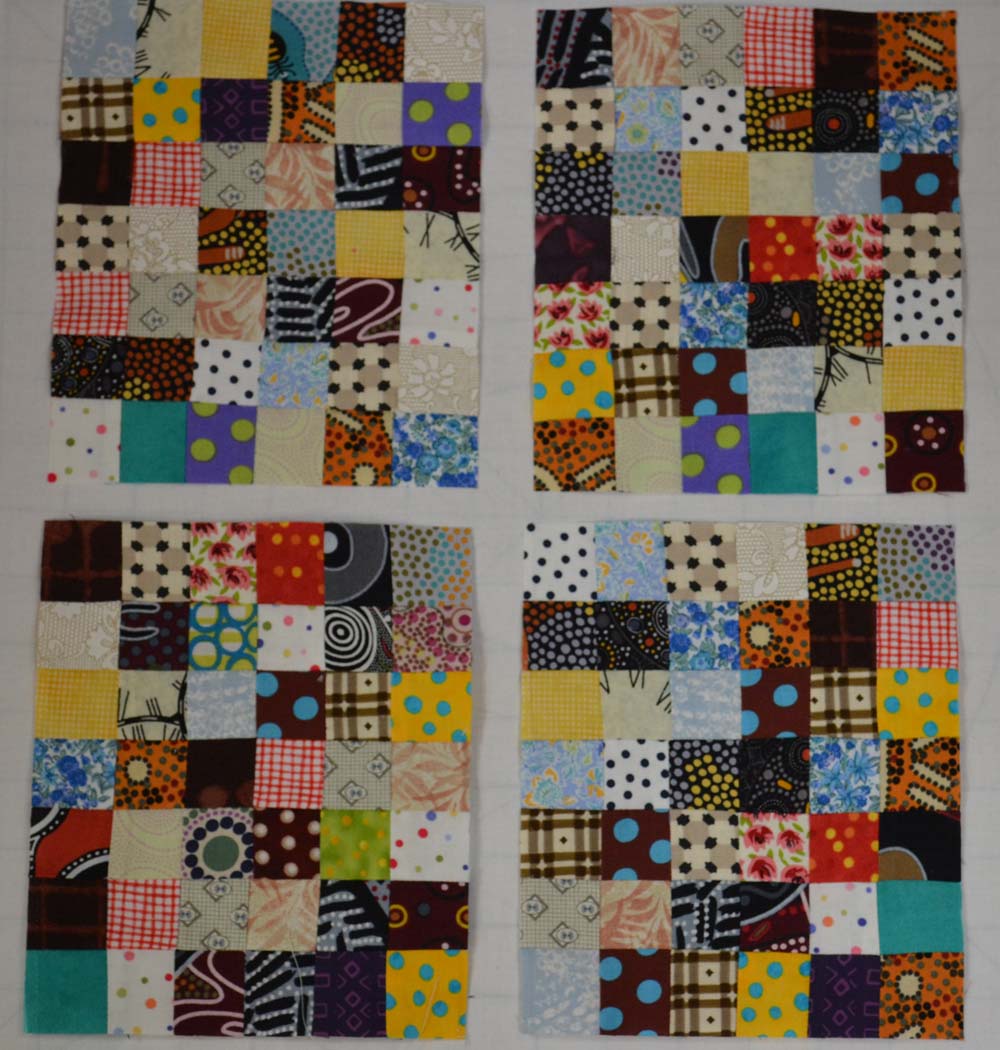
This month’s block is another applique block and we are only making one. You are receiving one yard of fabric per month, which is obviously too much for just one block, but remember there are lots of blocks to come along with filler blocks at the end.
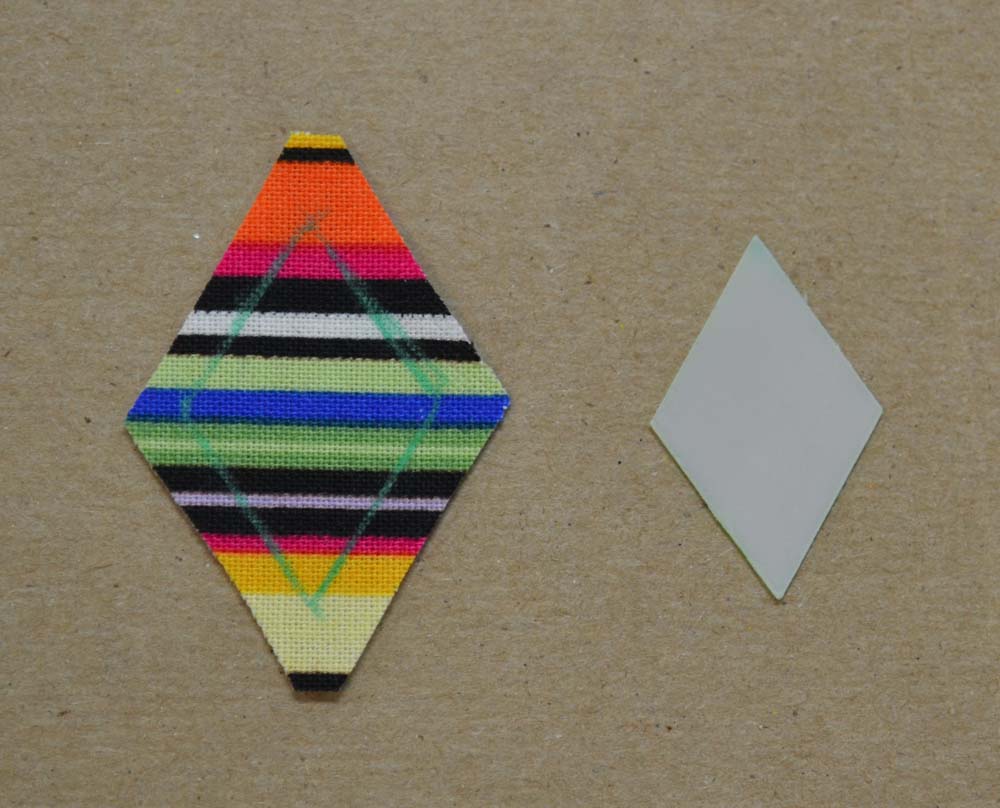
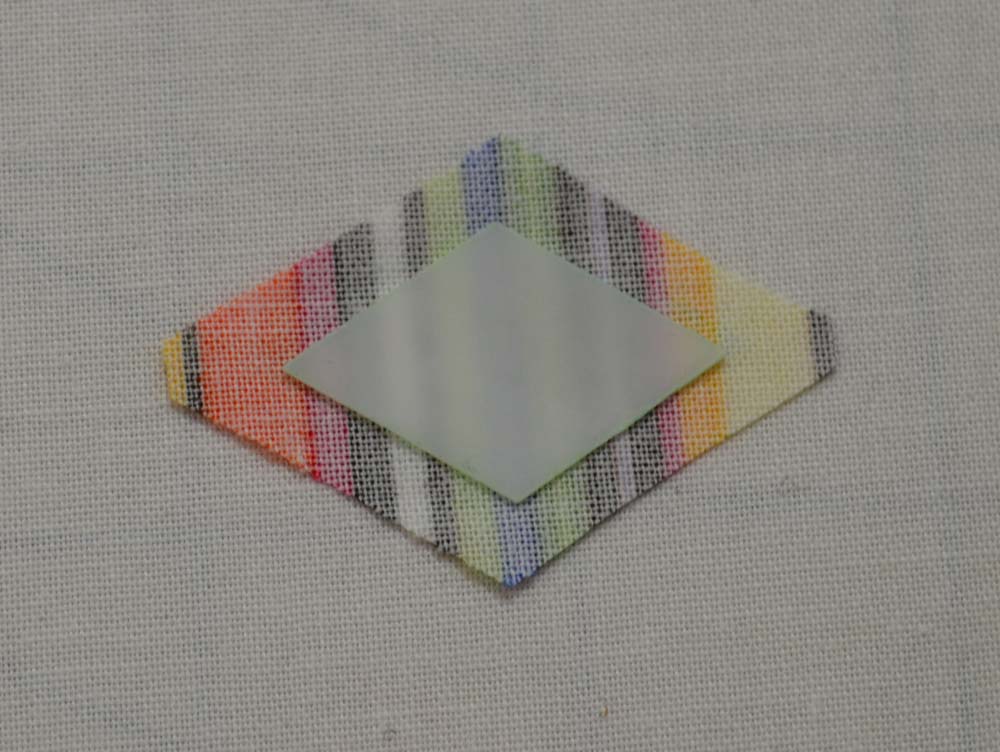
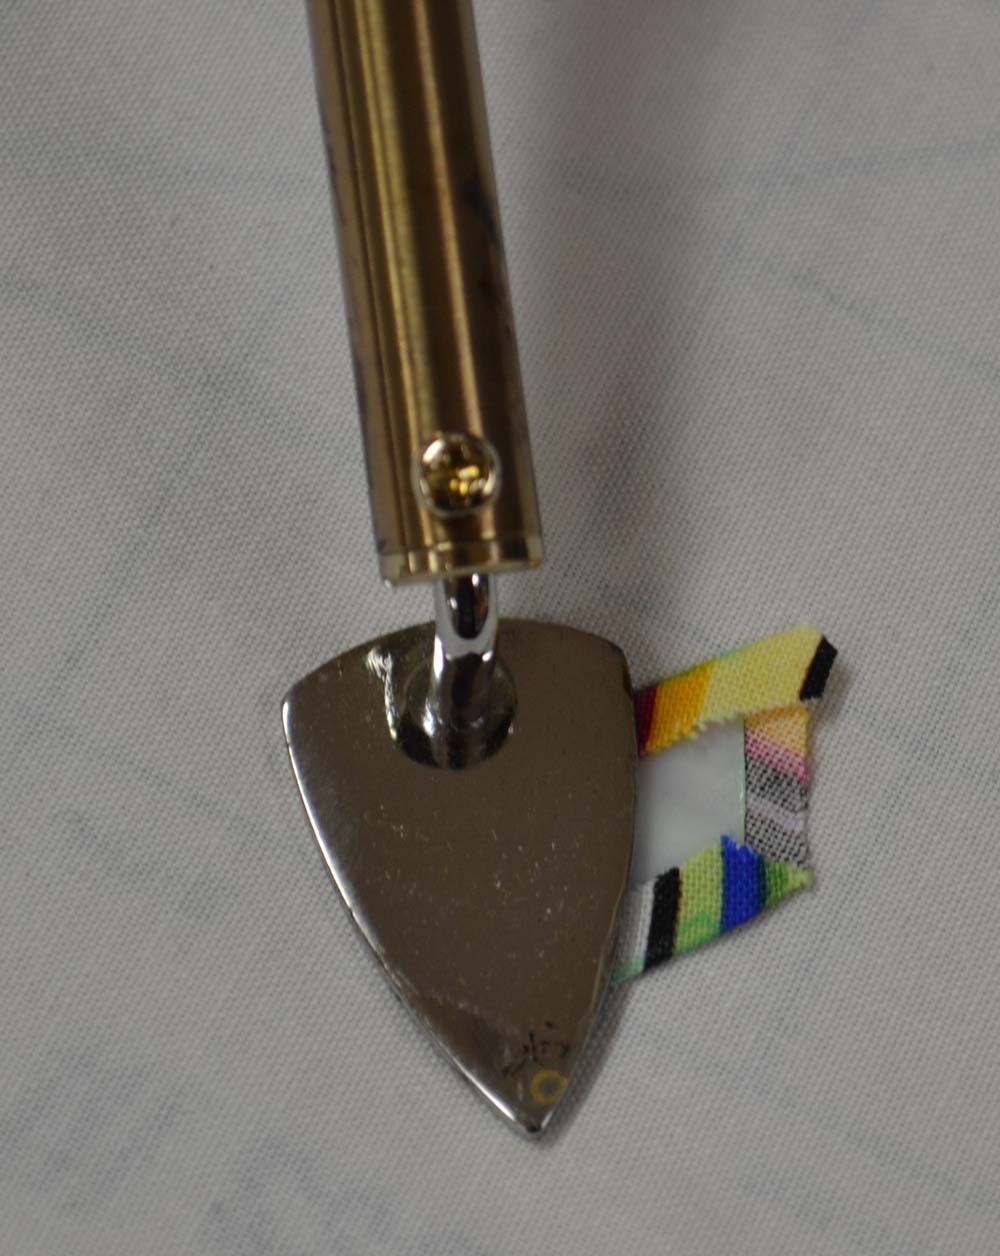
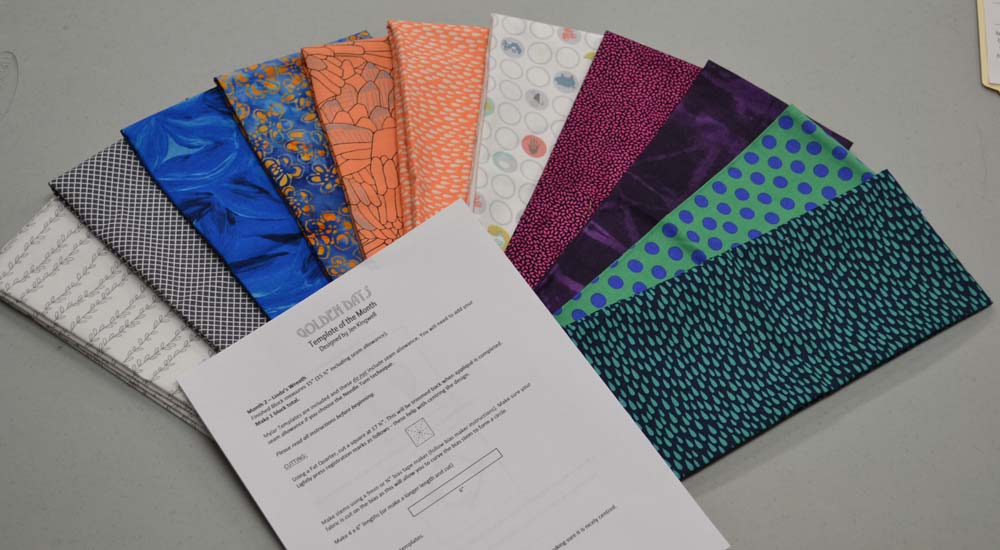
I really don’t have much to add to the instructions, so here are the fabrics you’ll be working with this month:
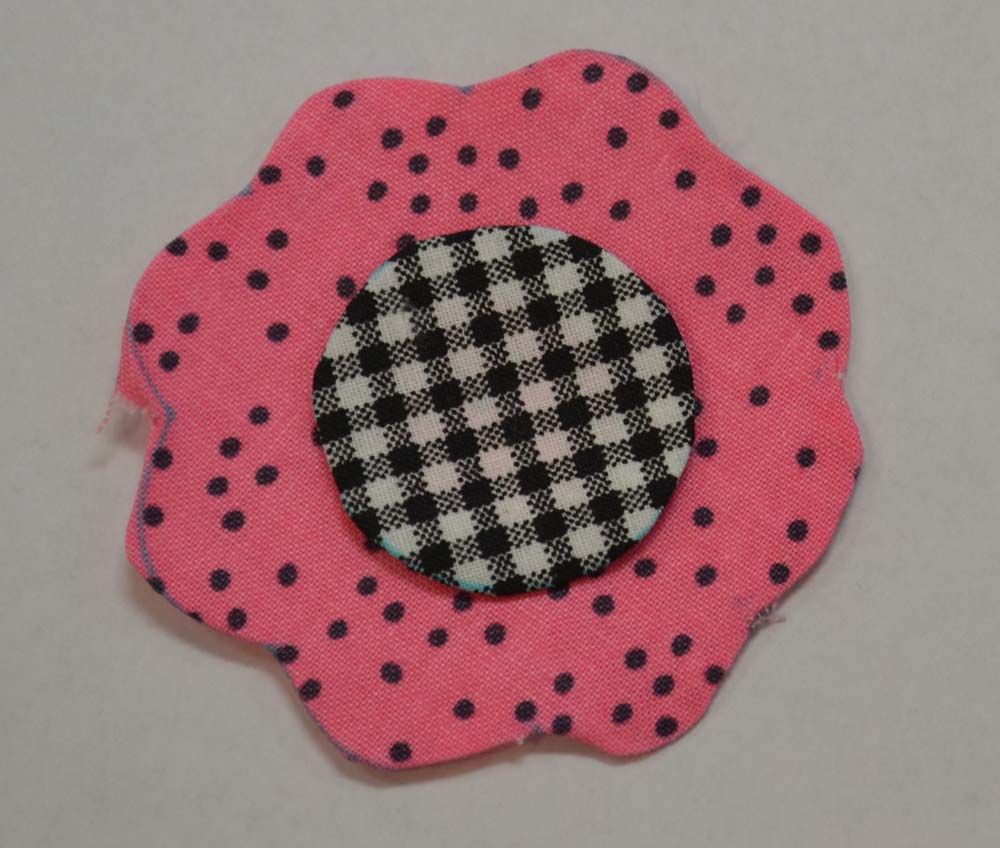
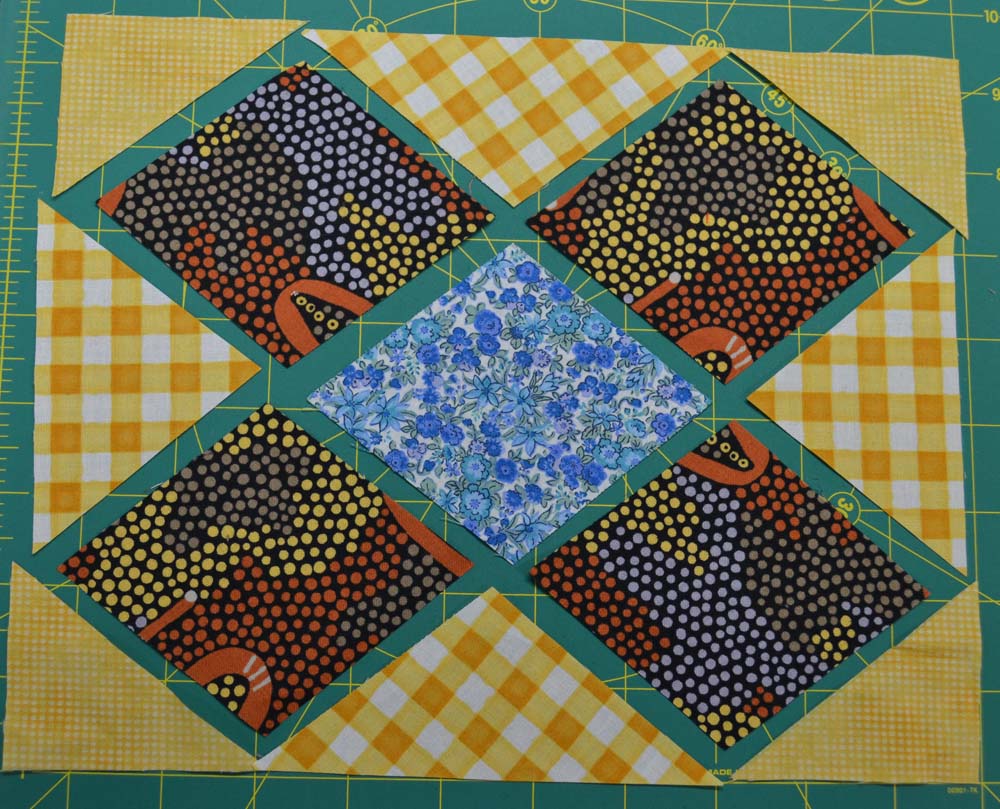
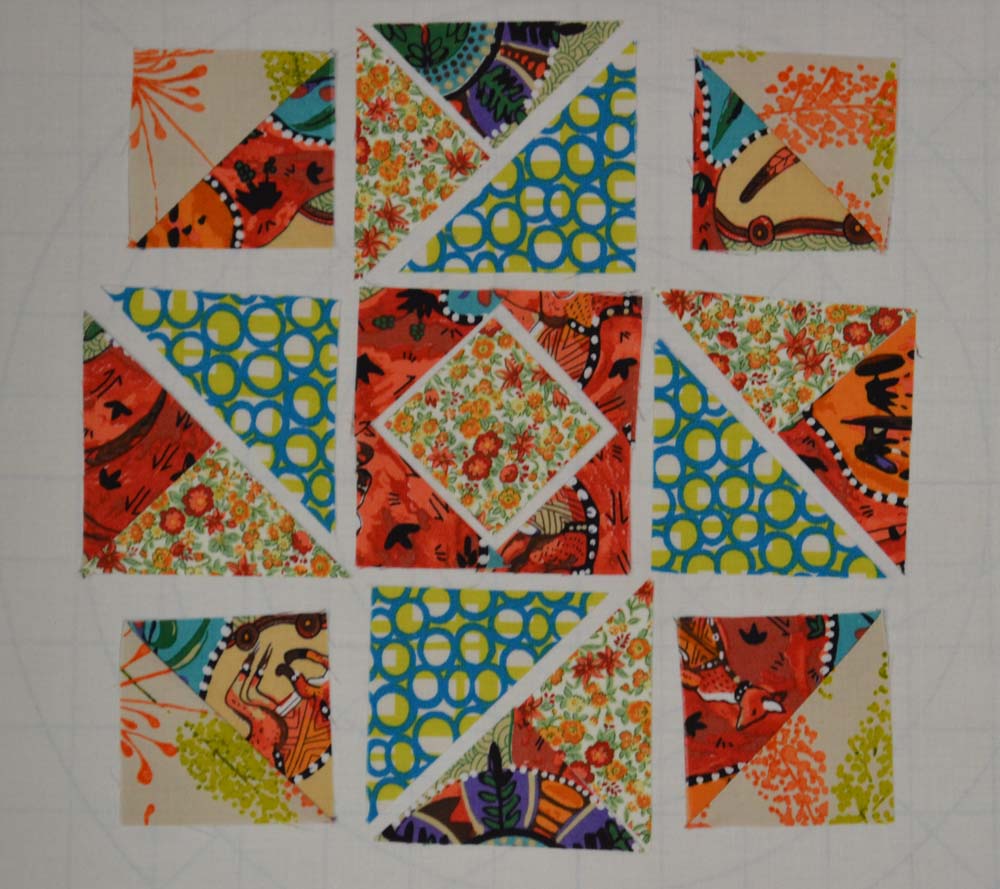
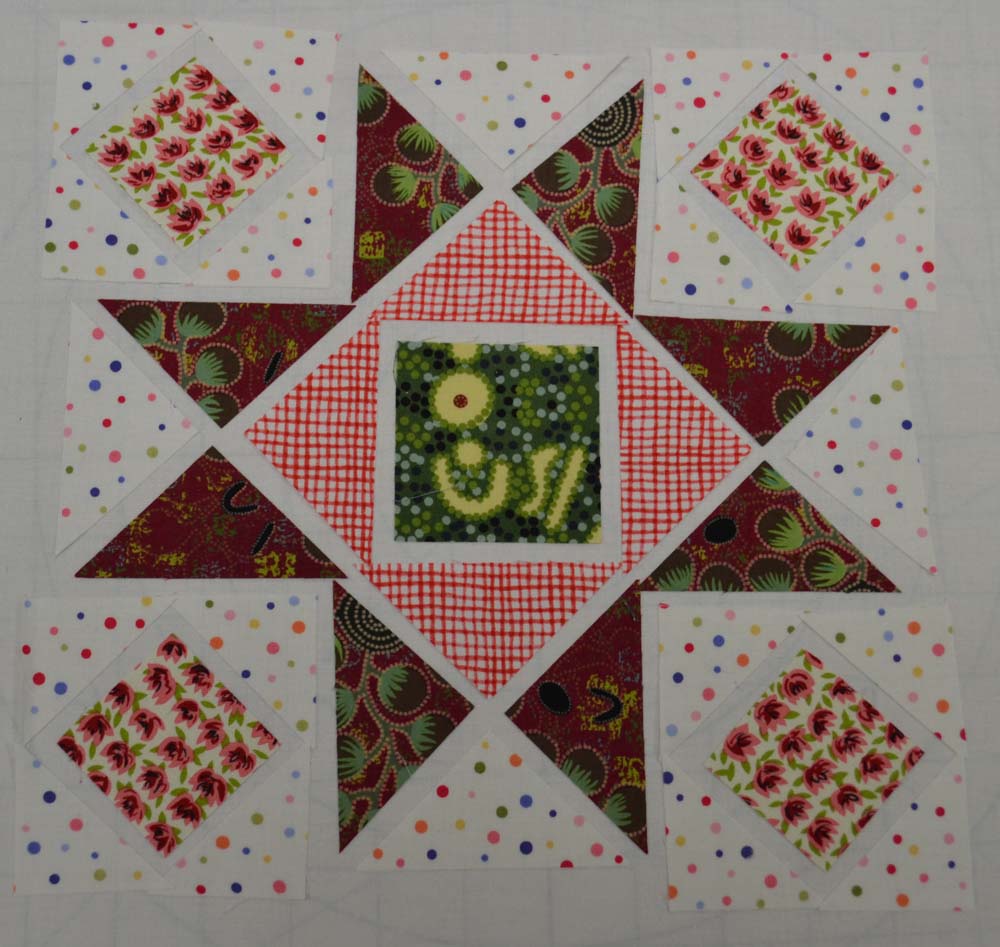
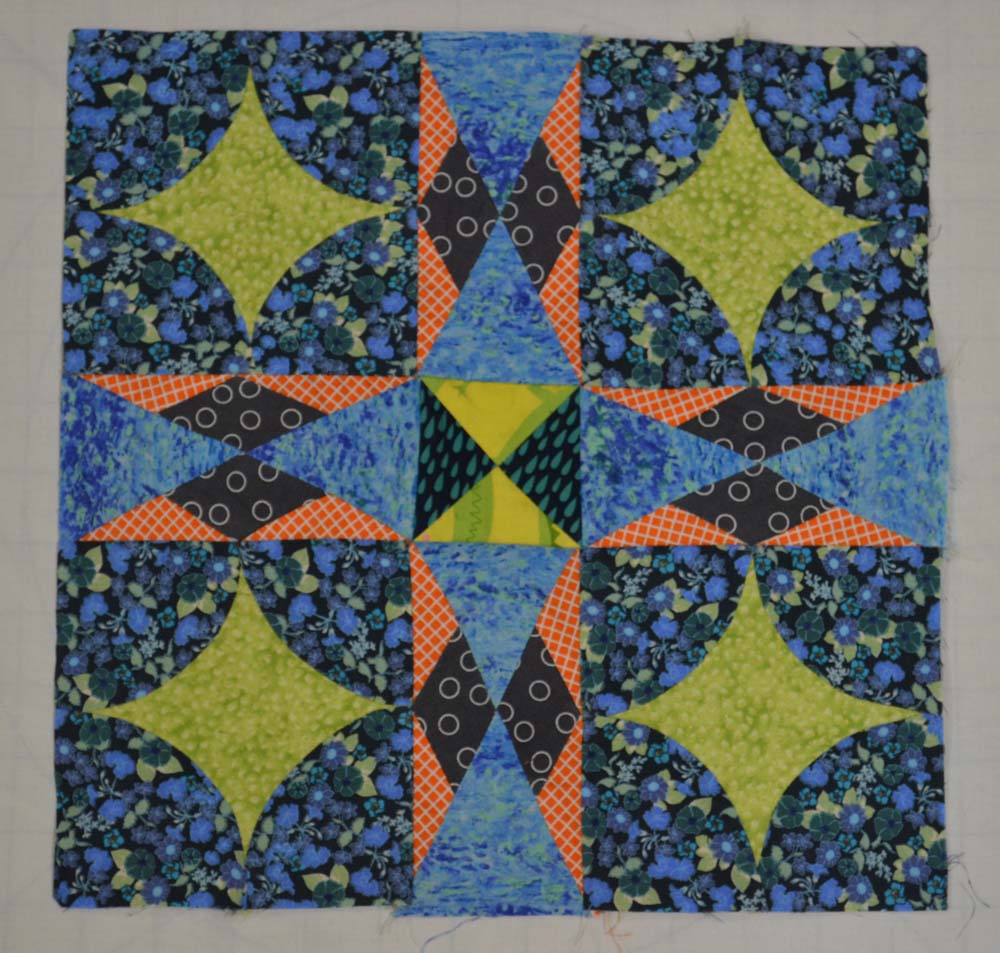
Here’s my finished block:
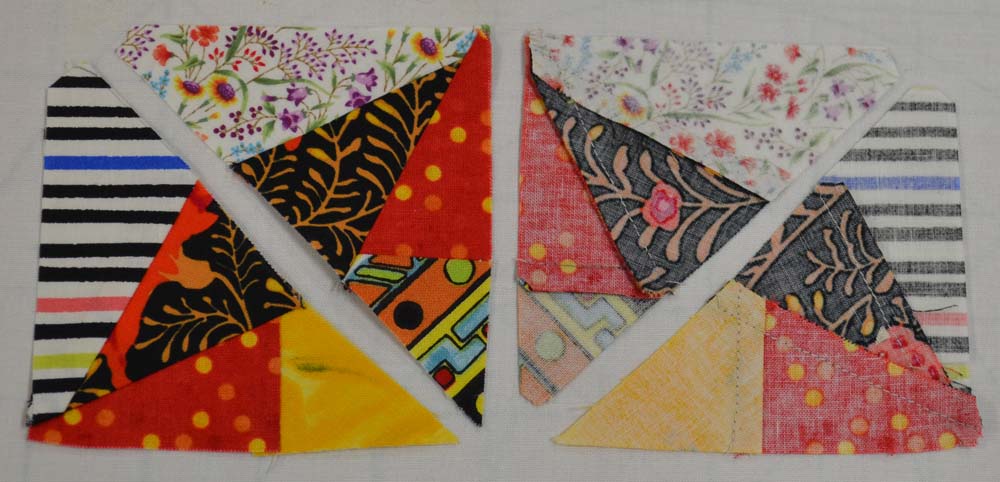
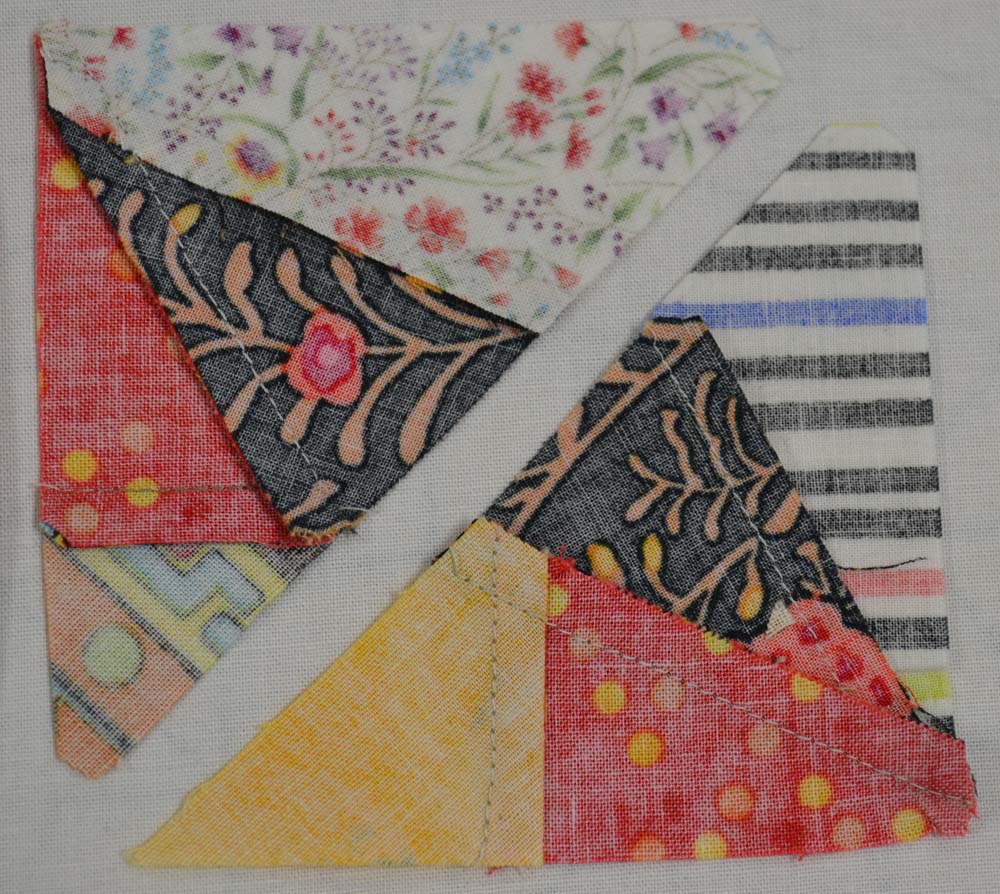
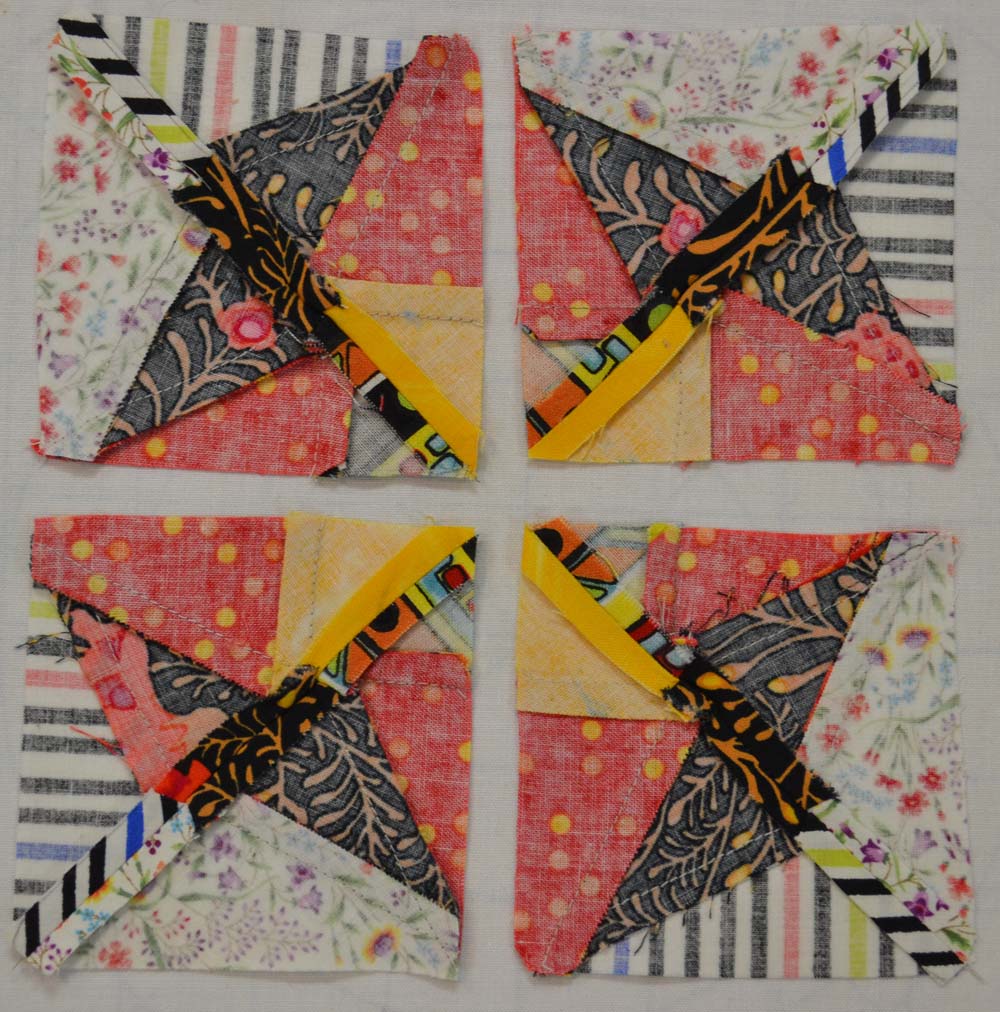
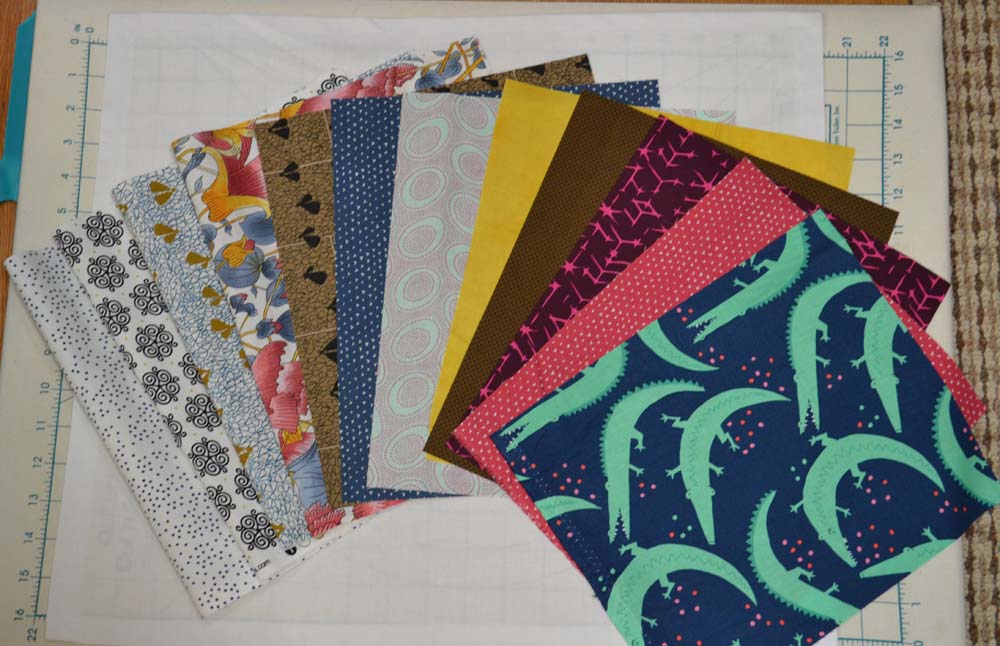
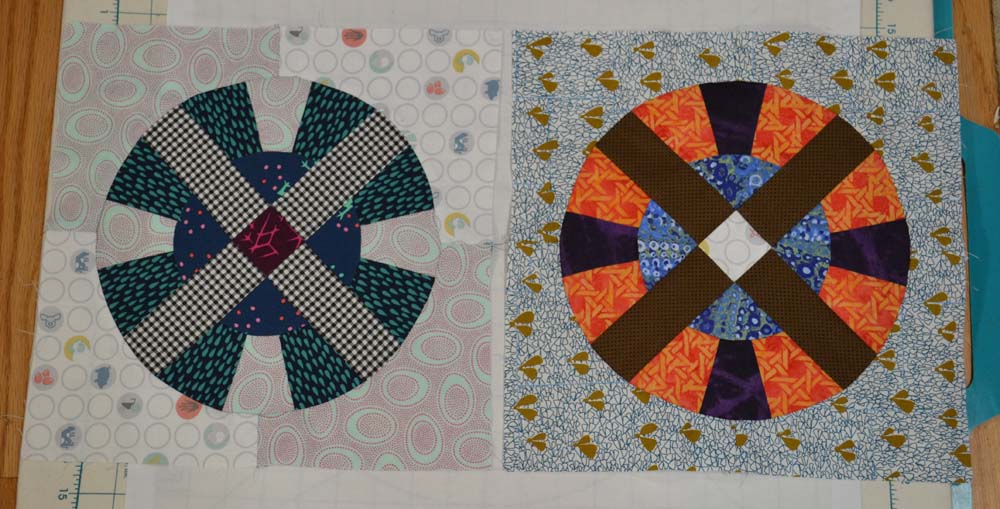
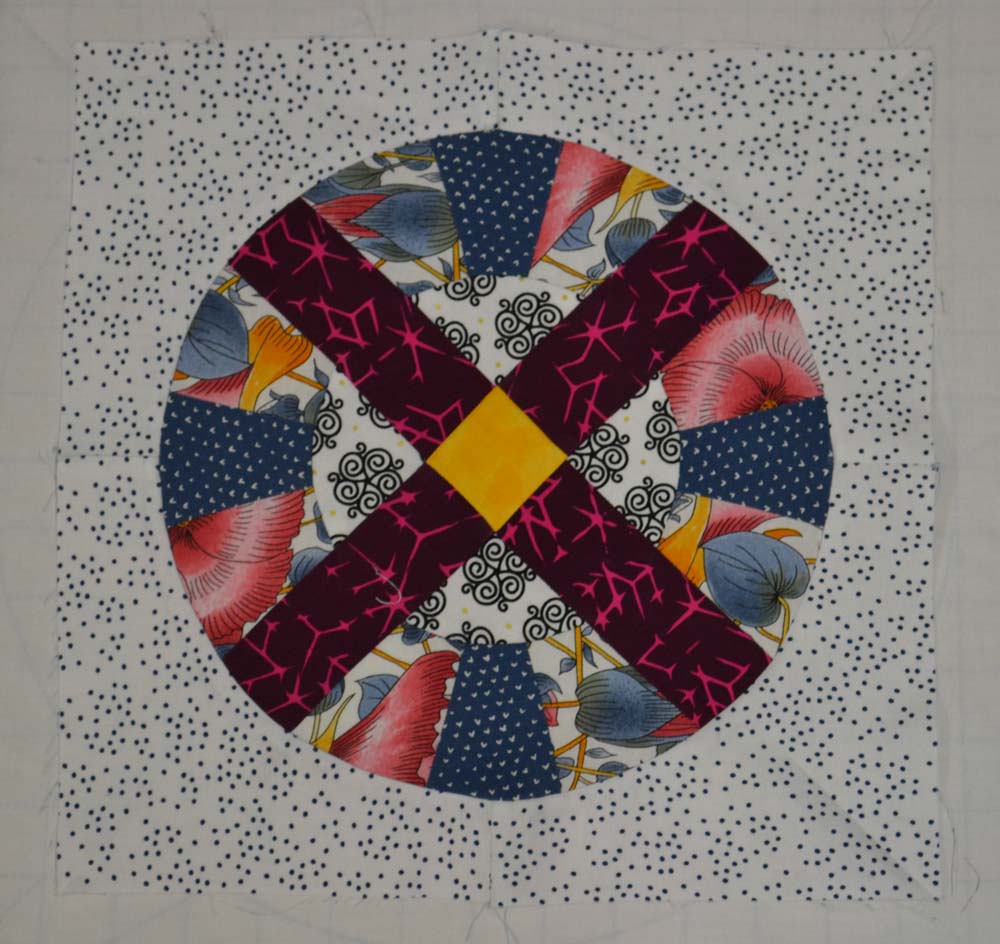
Month 3 – Wagon Wheel – 12 ½†x 12 ½†finished size–Make 3
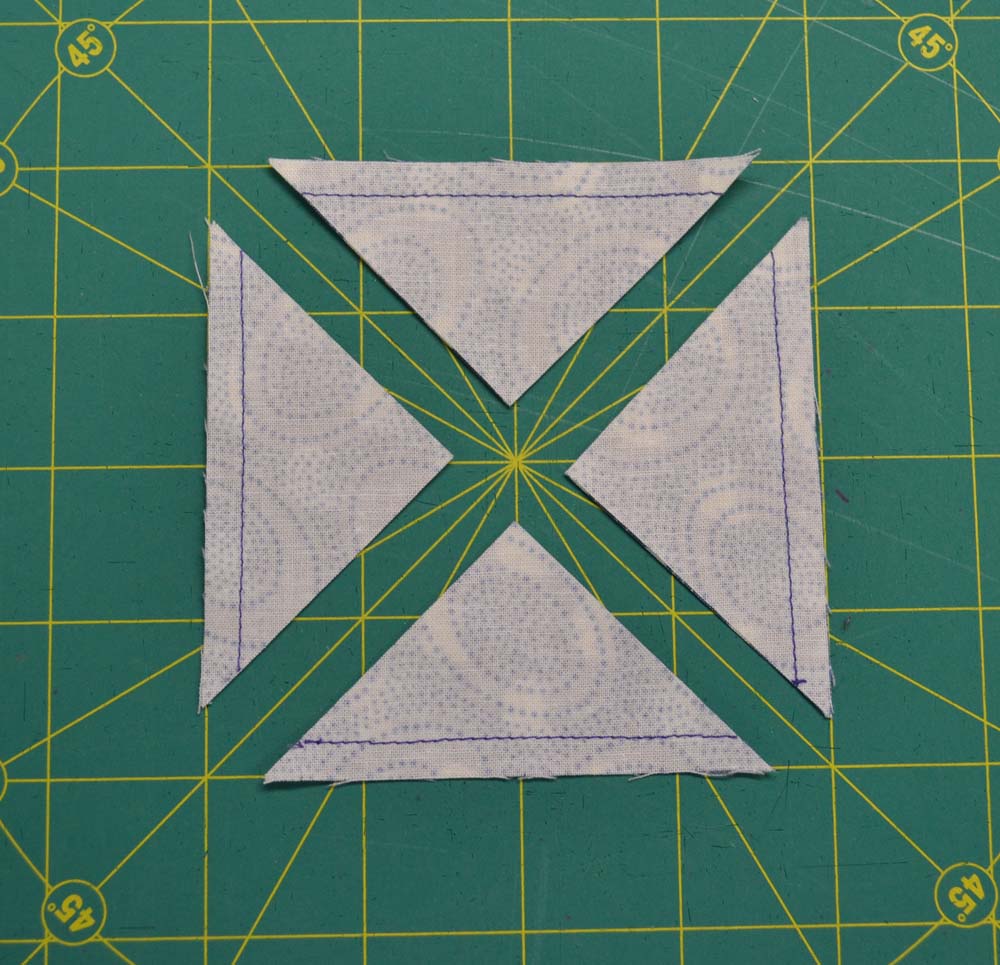
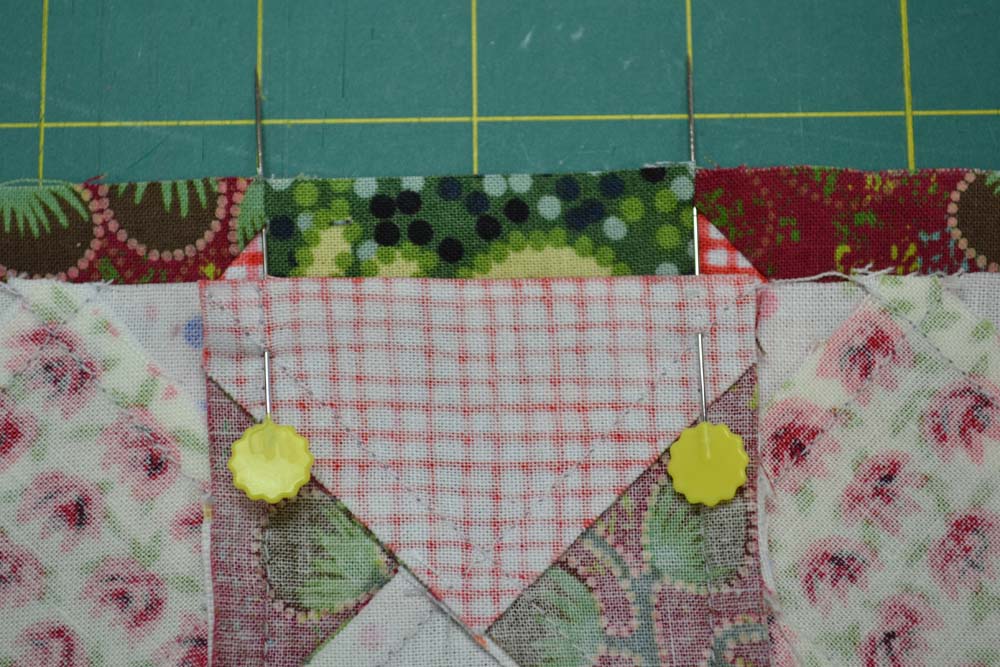
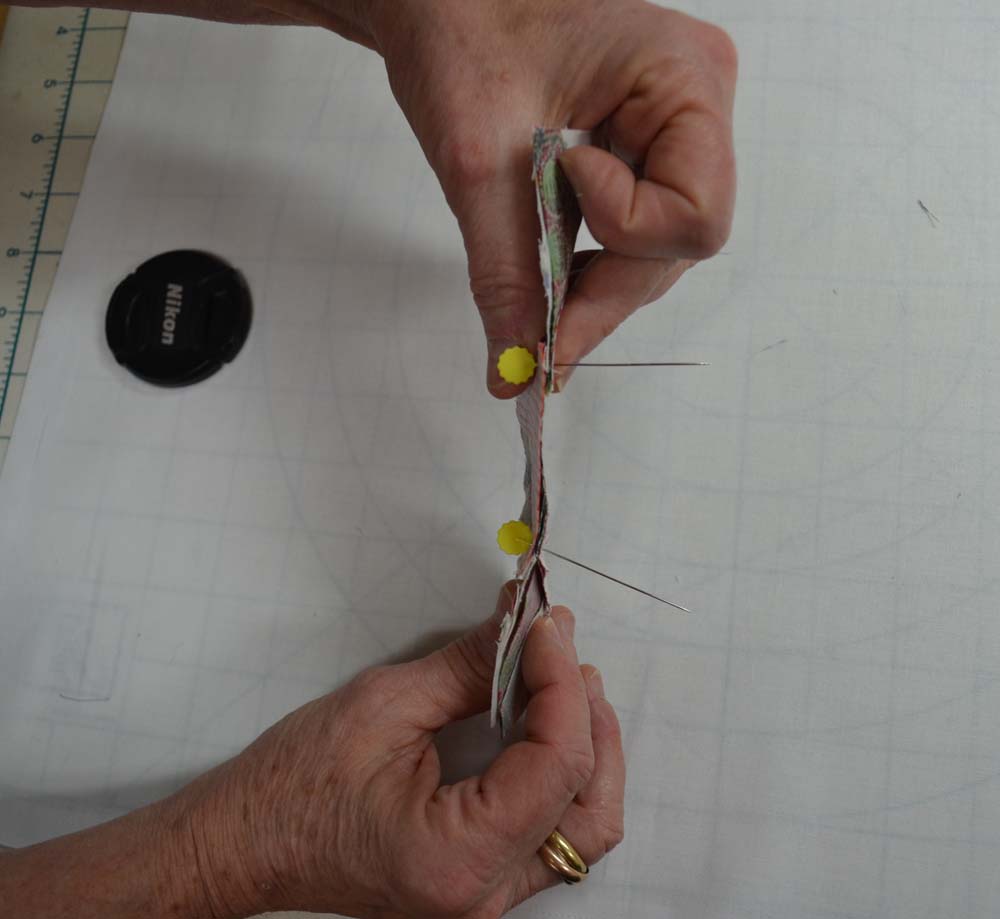
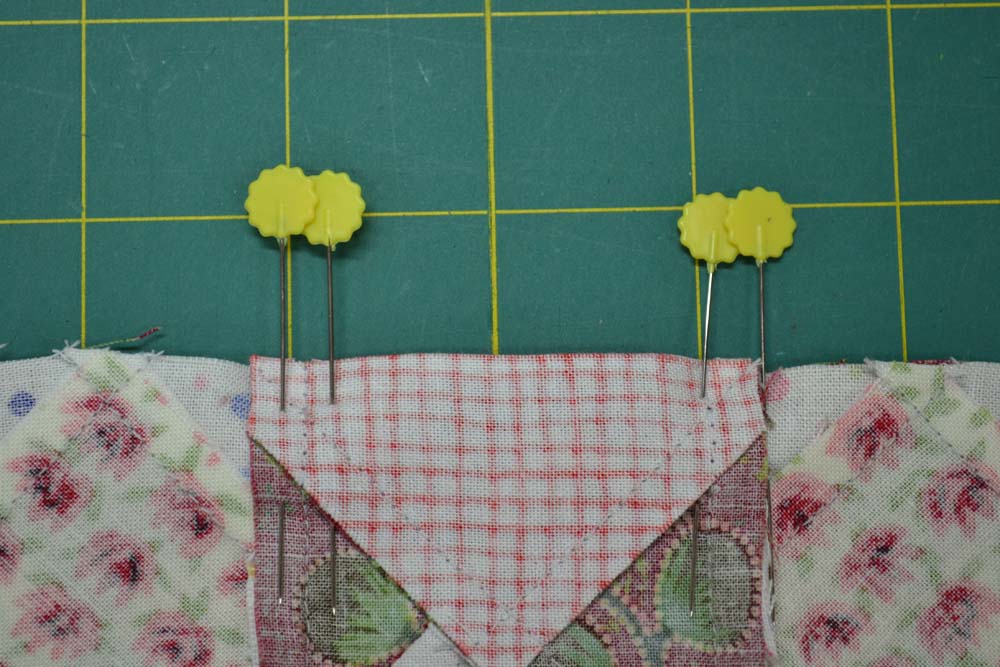
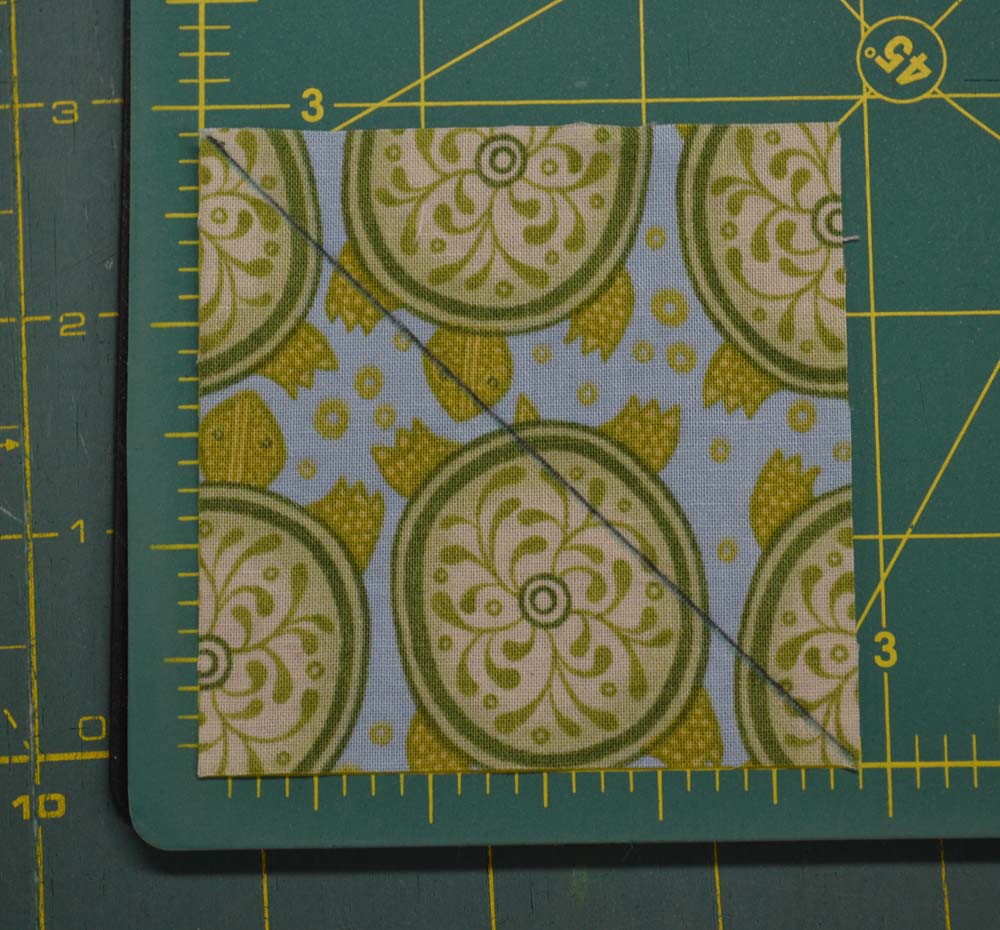
This is a pieced block with curves 🙁
The instructions are great, but experiment with the outer T6 piecing. I made the first one by stitching the 4 units together, then adding the center circle. I found this difficult because the diameter of the center pieced circle was not exactly the same size as the diameter of the circle I was adding it to.
I found it easier to leave a seam allowance on each ‘end’ of the T6 template and sew them one at a time, then joining the pieces as you would a set-in seam.
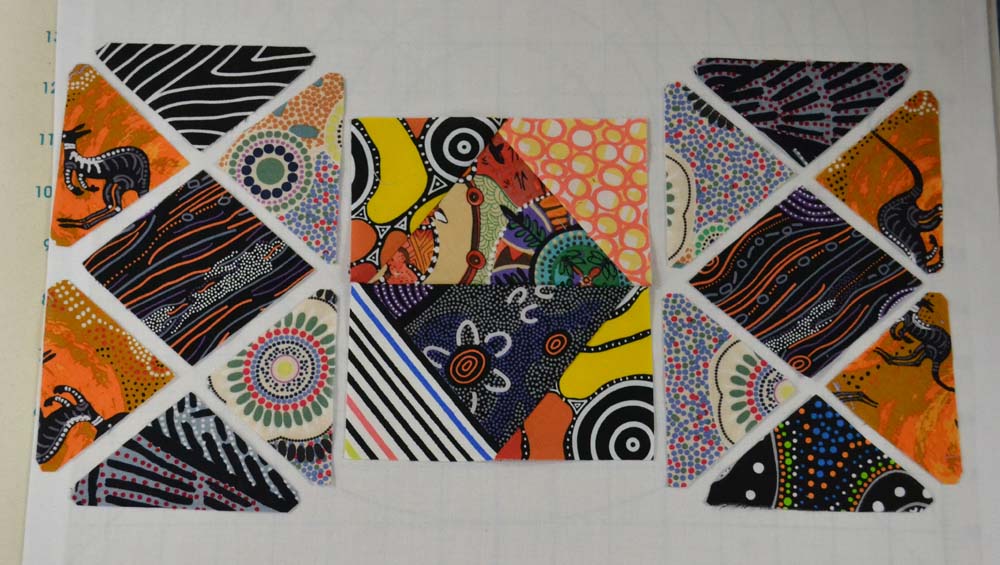
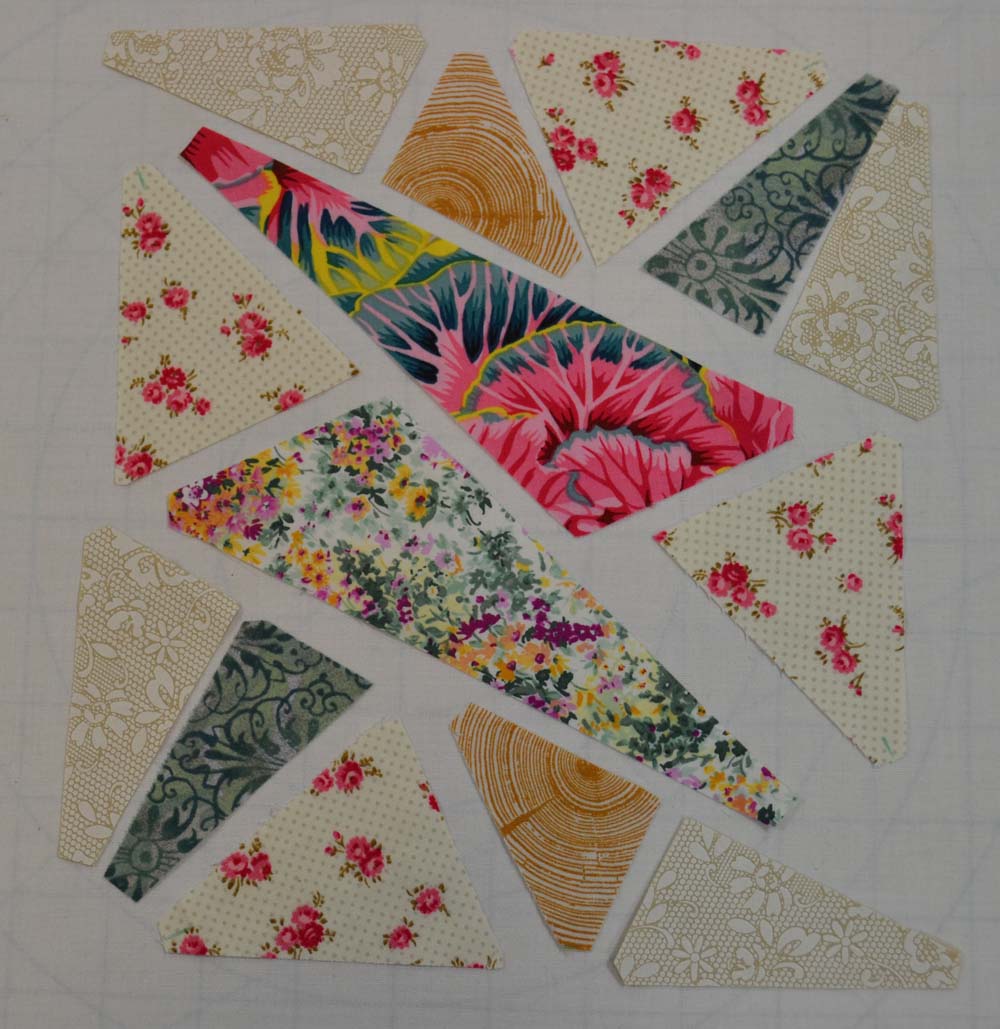
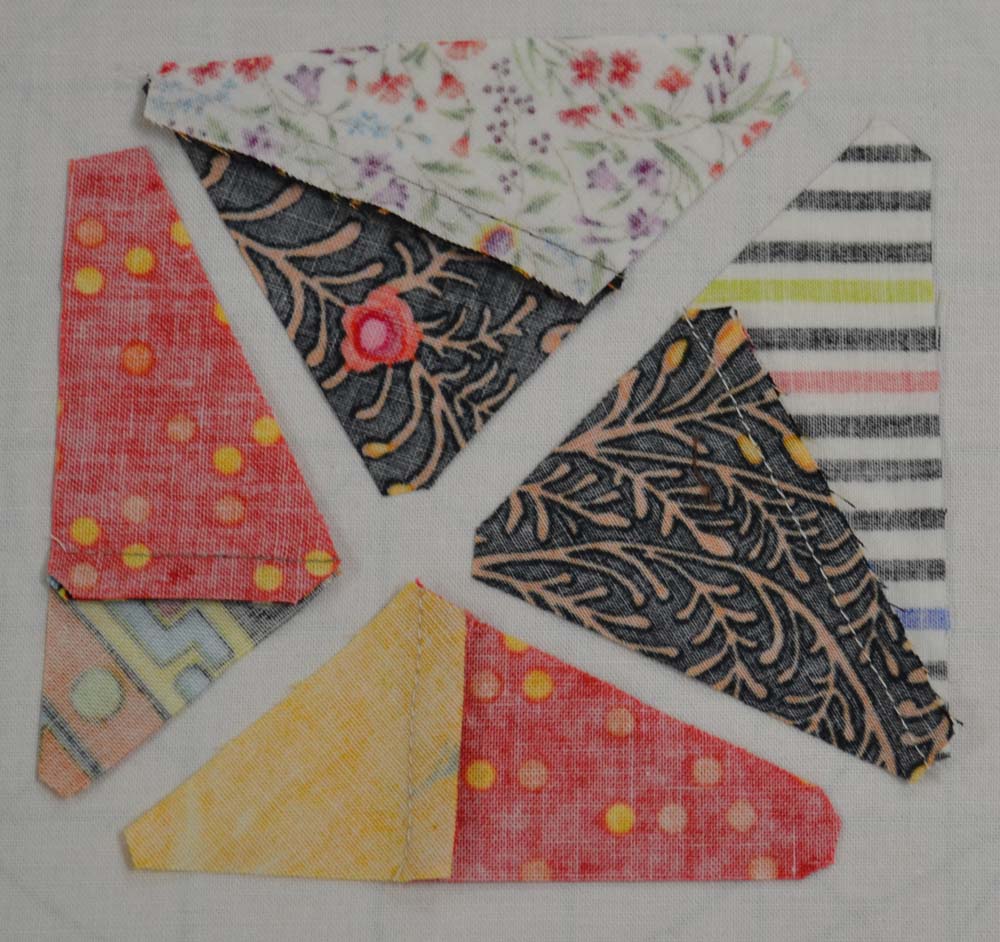
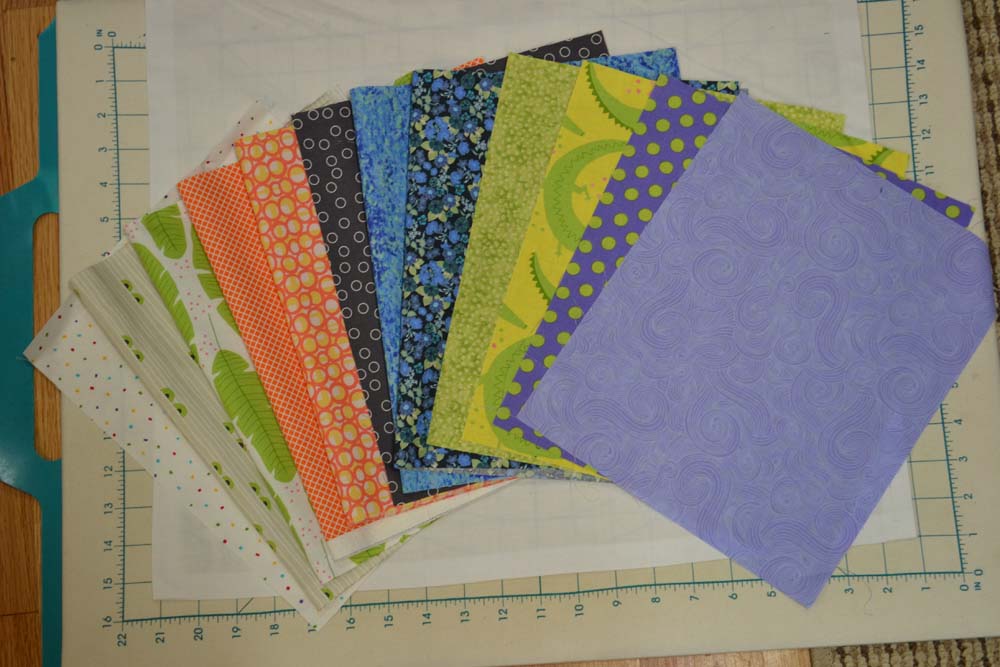
This month’s fabrics:
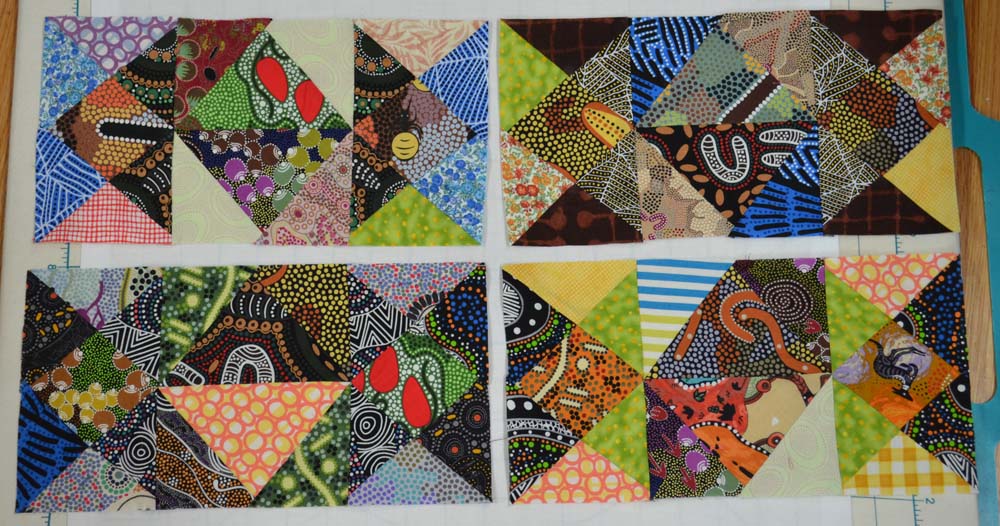
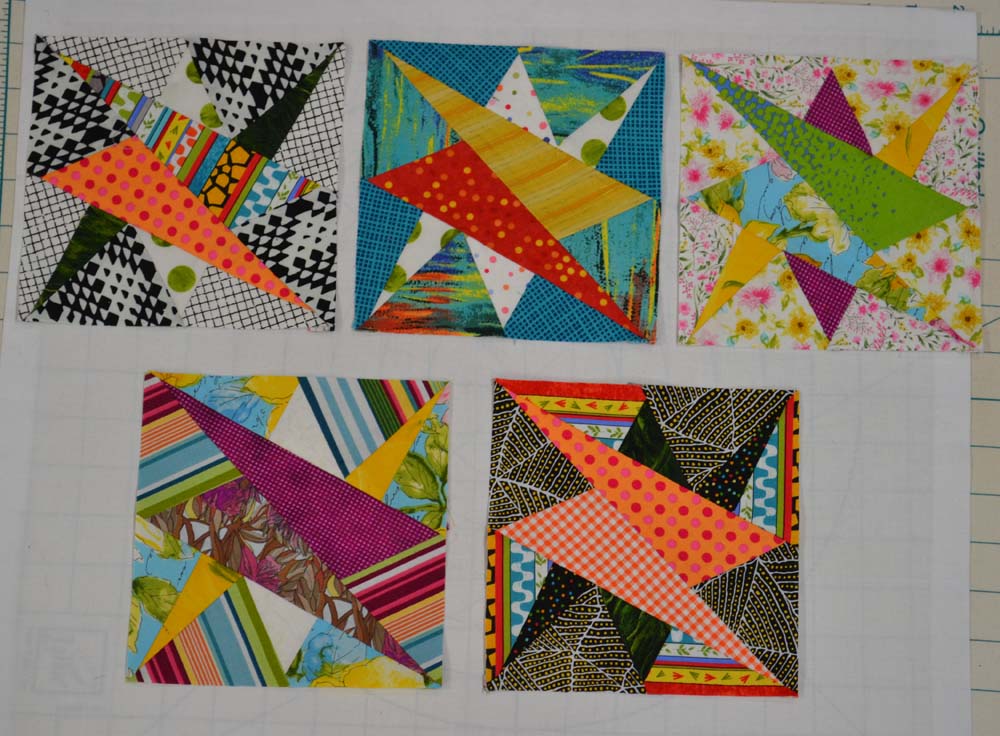
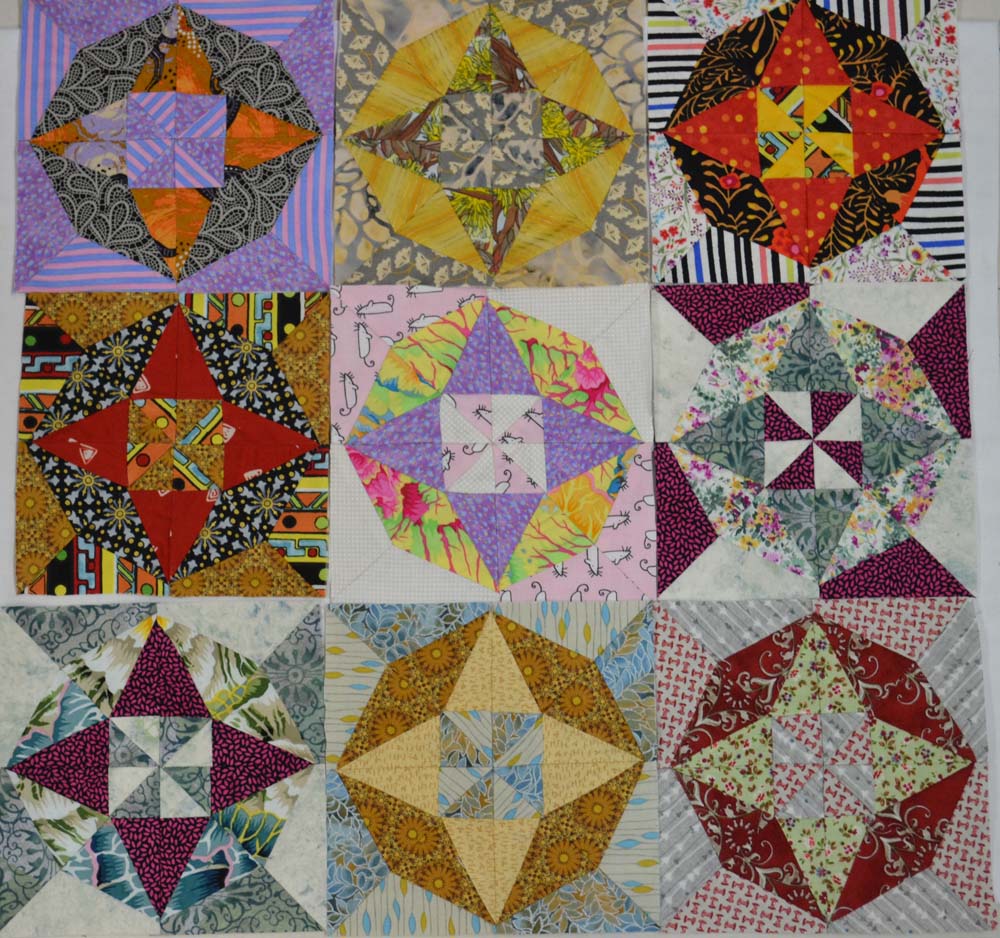
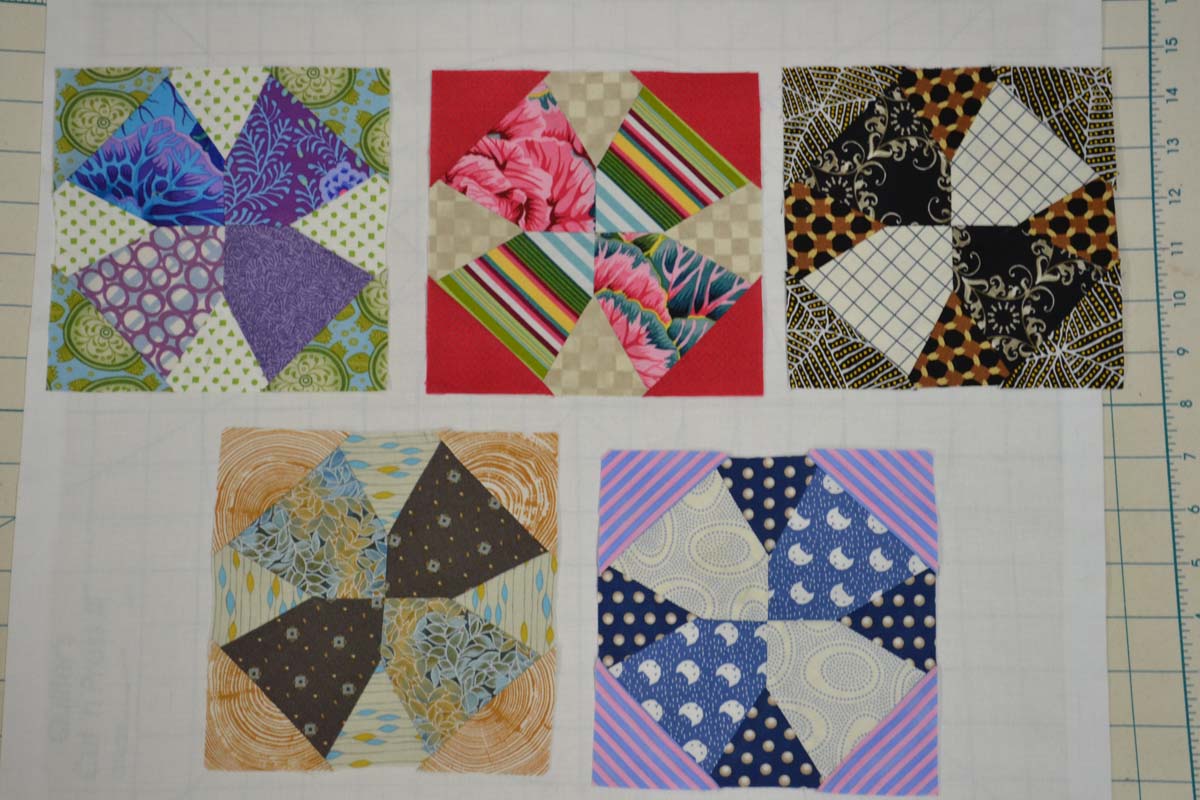
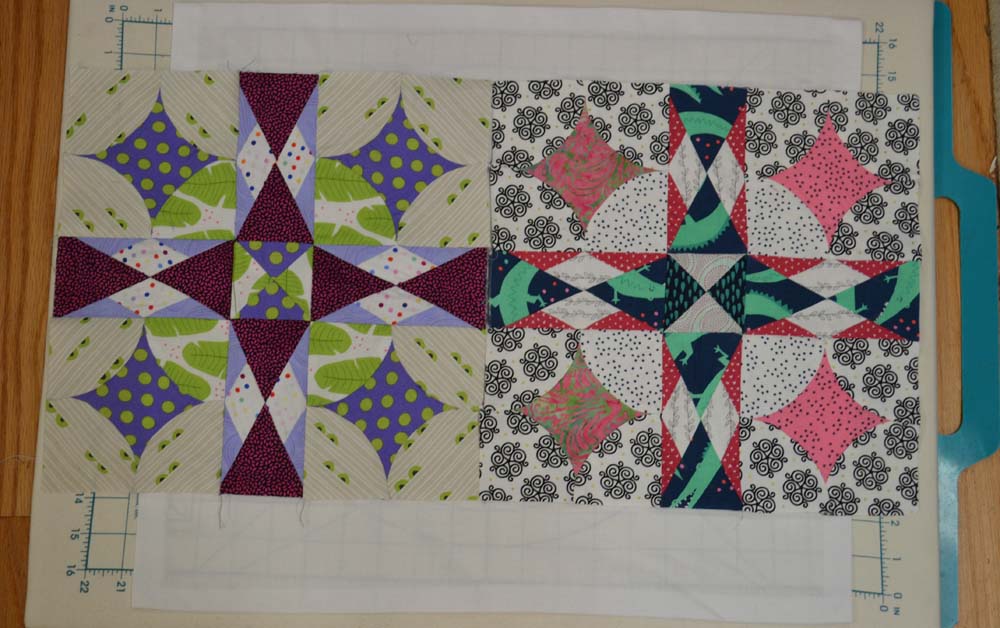
Finished Blocks:
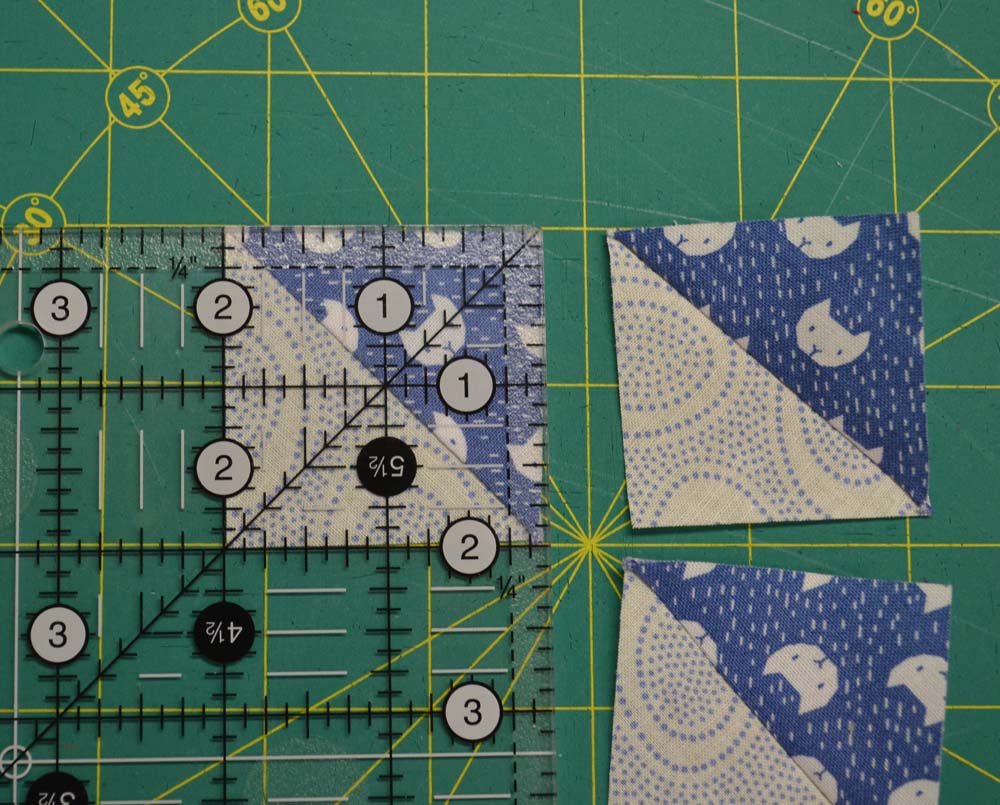
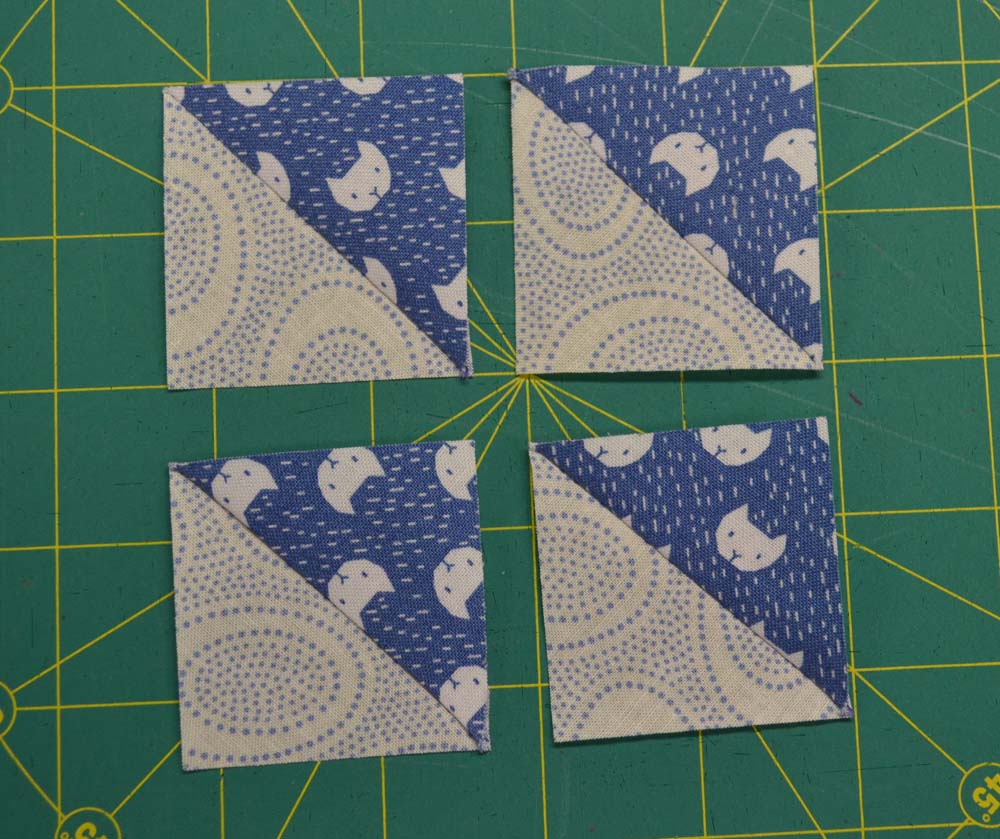
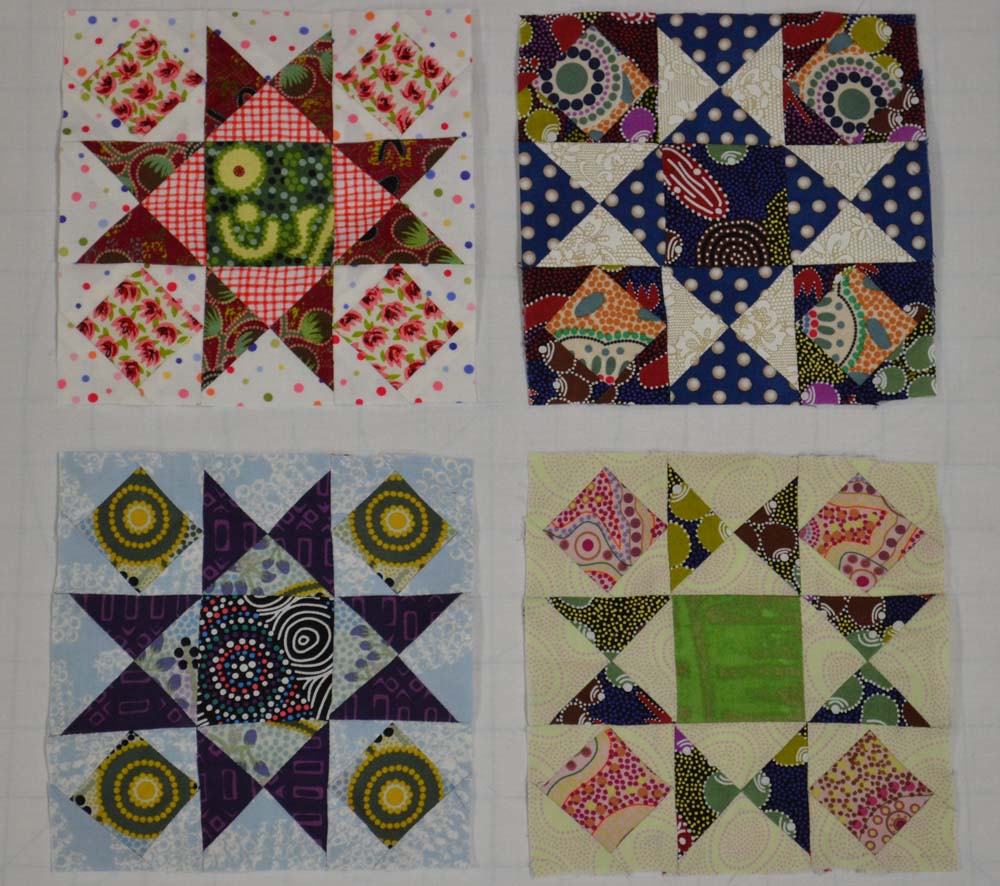
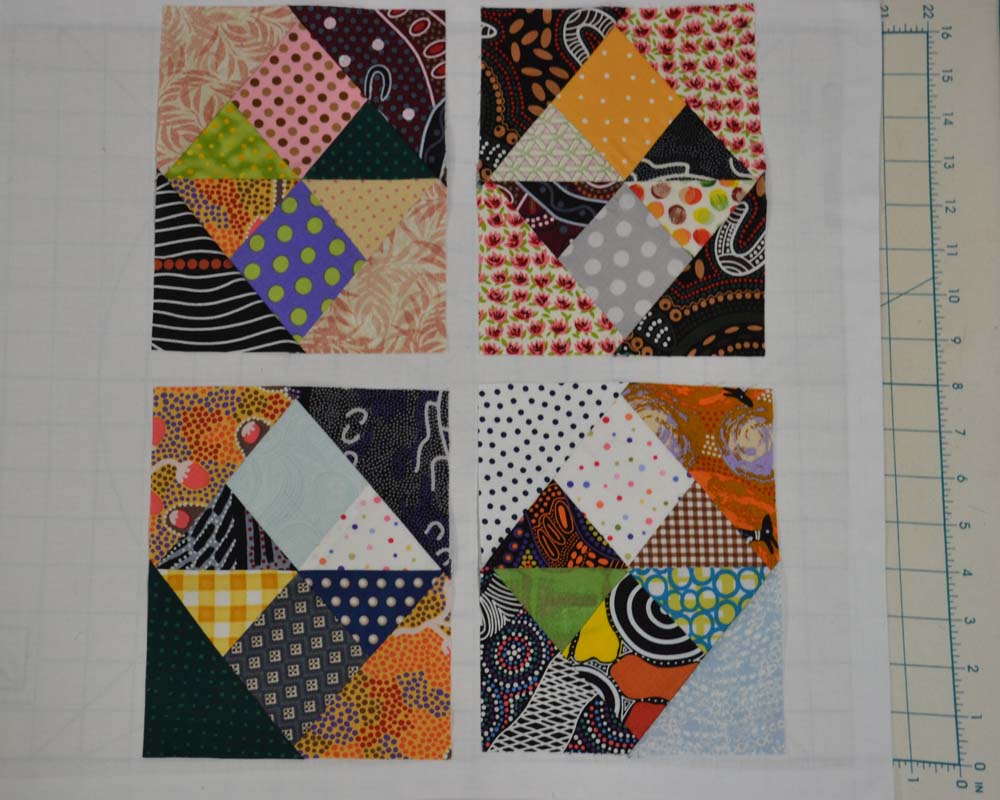
Month 4 – Hopscotch – 12 ½†x 12 ½†finished size–Make 3
I LOVE the look of this block, but I sure wouldn’t want to make a King size quilt with it! 16 small curved pieces per block, plus lots of small triangles to complete it.
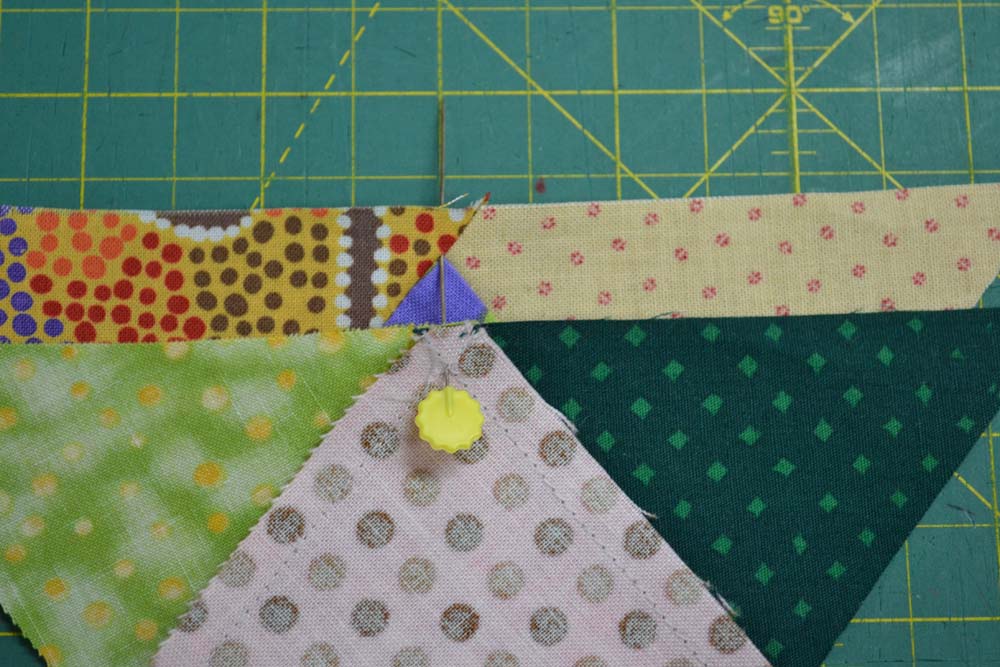
Just a few notes to begin, T11 is not a 60 degree triangle although it looks close.
In cutting the T7 and T8 pieces, take the time to cut the ‘dog ears’. It will make piecing so much easier!

Press T7 outward toward T8.
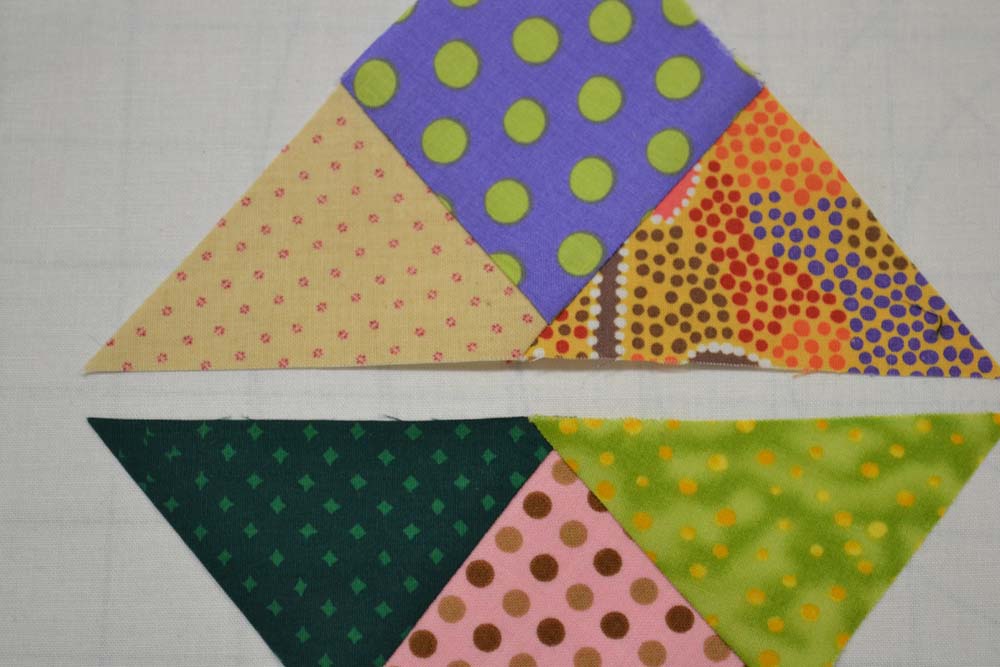
Here are the fabrics for this month:
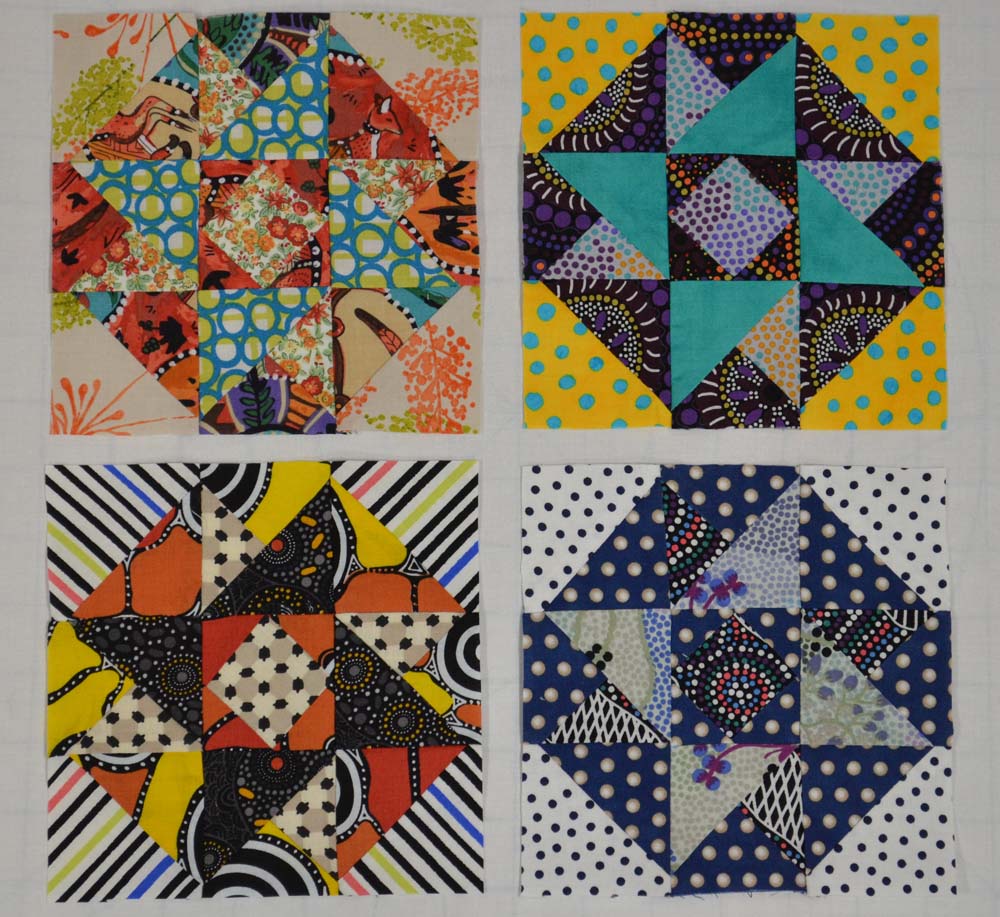
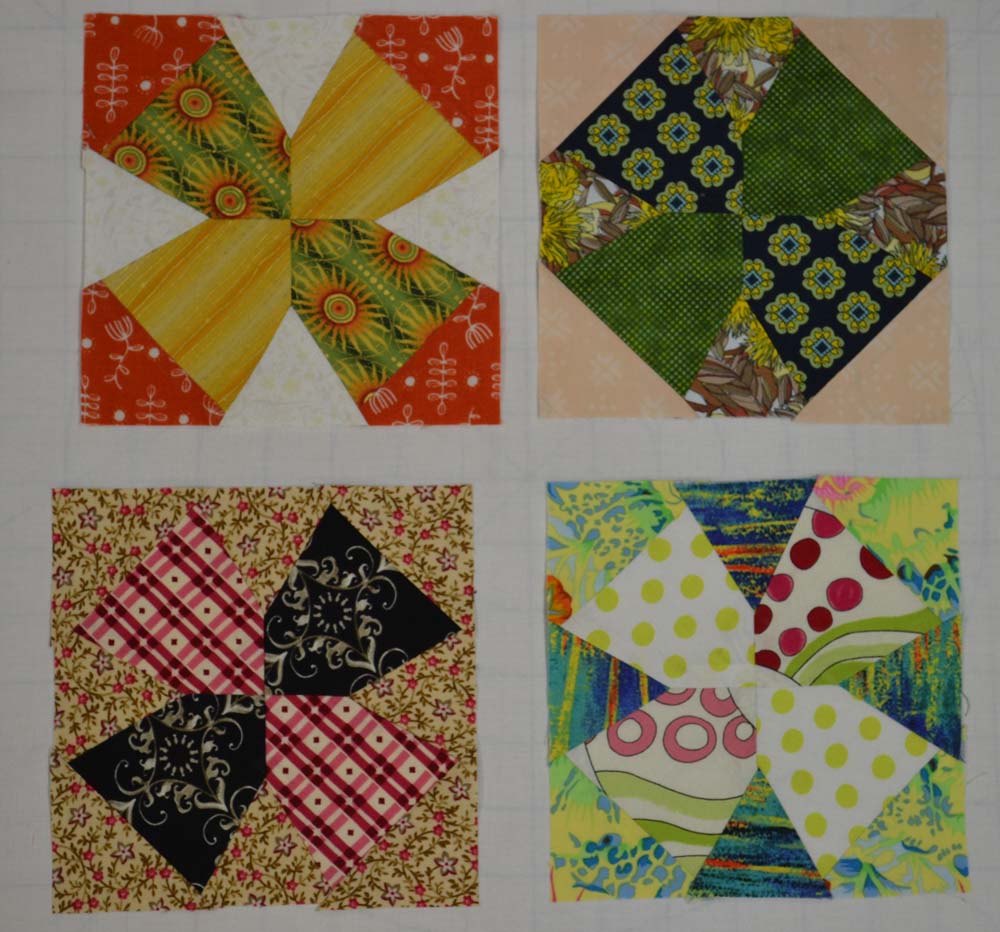
Finished Blocks:
Good Luck everyone! See you next time.
Blessings, Ann